Fish Finder Settings: How to Tune Your Sonar for a Clearer Picture
Get more out of your fish finder by setting frequency, gain (sensitivity), range, contrast, color palette and noise filters on purpose instead of leaving everything on auto, plus how to set the depth offset and track down interference from other electronics.
Time
1 h 30 min
Shop would charge
$100-300
Applies to
All engines · Fishing boat, Center console, Pontoon, Bowrider / runabout
Safety first: Make setting changes while drifting in open water or with a second person at the helm; staring at a screen while running is how boats hit docks, swimmers and other boats. Keep a lookout and keep your speed down when you're focused on the sonar. Never rely on a depth reading alone in unfamiliar shallow water.
Owners often ask
- My fish finder screen is full of noise even with the motor off. Should I turn the sensitivity up or down?
- My fish finder shows clean readings while trolling but fills with clutter at moderate speed. Is it a setting?
This guide walks you through it. Still stuck? Ask the AI Mechanic about your engine.
Tools
- Your fish finder and its owner's manual or online help pages
- Tape measure (for the depth offset)
- Phone camera to photograph screens and settings
- Multimeter (optional, for checking supply voltage)
Before you start
Why tune at all. Auto mode on most units does a decent job for basic 2D sonar. BoatUS's electronics writer says that for side imaging especially, bottom type, depth, water clarity and screen size change the picture so much that leaving it on auto means missing fish.
Know your model. Menu names differ by brand: gain may be called sensitivity, noise rejection may be interference, smoothing or clarity. Find the matching page in your unit's manual or online help (Garmin, Lowrance, Humminbird and Raymarine all publish them).
Rule one: change one thing at a time. Photograph the screen before and after each change, and write down settings that work for each lake or spot. Most units also let you save or reset to factory settings if you get lost.
First, rule out hardware. If the picture is bad at all speeds, settings may not be the whole story. Check the transducer and its mounting first (see our transducer guide).
Steps
Restore factory or auto settings, or write down what's there now. BoatUS's troubleshooting advice starts the same way: stray fingers change settings more often than equipment fails. Pick a spot with a known depth and some structure to practice on.
Your transducer sits a few inches below the water's surface (or inside the hull), so the raw reading isn't the true depth or the depth under your lowest point. Garmin's help explains the two choices:
- Depth below the keel (or lower unit, or lowest point): measure from the transducer to that lowest point.
- True depth from the surface: measure from the transducer up to the waterline. Enter that distance in the offset setting. Your manual tells you whether to enter it as a positive or negative number for each case. On an outboard or sterndrive boat, many owners prefer depth below the lower unit or skeg, so a shallow reading has a built-in safety margin. Check the result against a known depth.
Higher frequency gives more detail but less range; lower frequency reaches deeper and covers a wider cone but with less detail. Garmin notes wider beams (lower frequencies) show more targets but also more surface noise.
- Traditional 2D sonar: many units use about 200 kHz for shallow to moderate depths and a lower frequency for deep water.
- CHIRP units sweep a range of frequencies instead of one, which helps separate fish that are close together. Pick low, medium or high CHIRP the same way: higher for detail in shallower water, lower for depth.
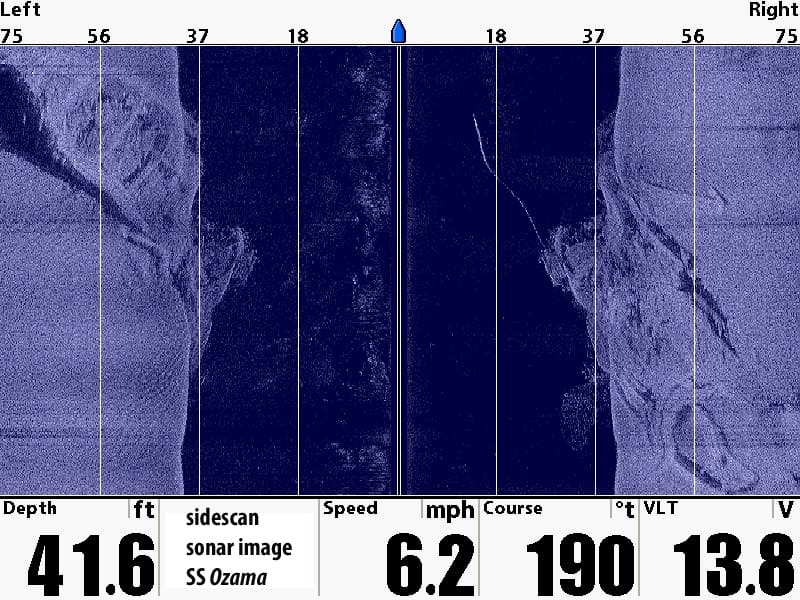
- Side and down imaging: BoatUS suggests the 800-plus kHz setting for targets out to roughly 100–150 feet, and the 400–500 kHz range beyond that, depending on conditions.
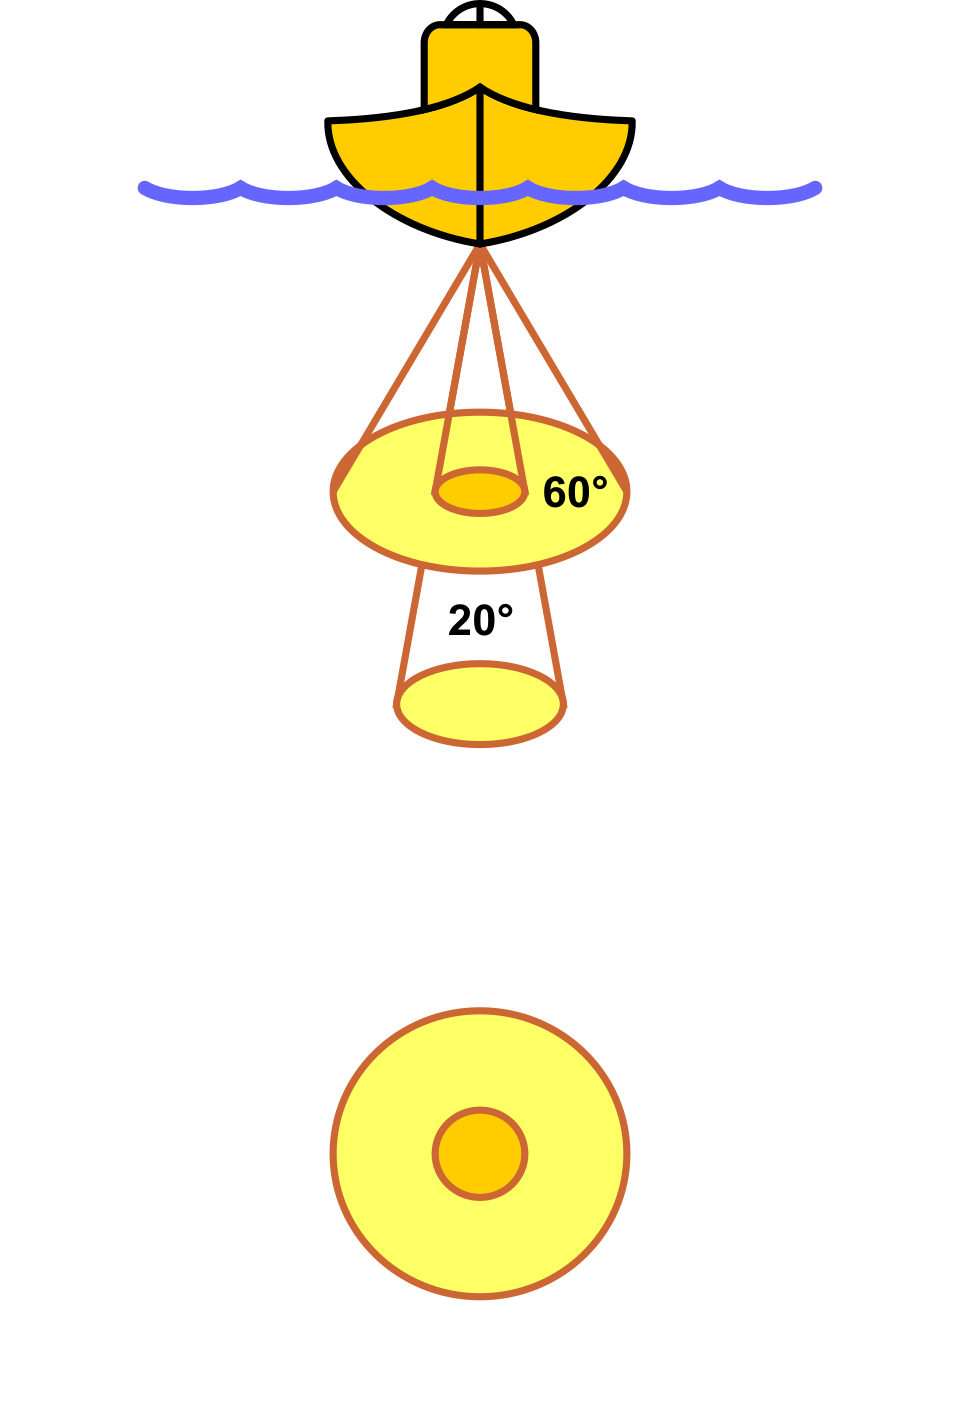
Diagram: Baba66 / Wikimedia Commons · CC0 - 2D sonar: auto range usually works. If you set it manually, keep the bottom in the lower part of the screen so you can see fish above it.
- Side imaging: BoatUS's rule of thumb is that you won't get good returns beyond about 20 times the depth, so in 10 feet of water, a range much past 200 feet just wastes screen. Set the range so returns fill the screen with little blank space beyond them. Shorter range means more pixels for what you care about, especially on small screens.
Gain controls how sensitive the receiver is. More gain shows more detail (small fish, bait, thermoclines); less gain cuts clutter. A practical method:
- Turn auto gain off.
- Raise gain until the screen starts filling with speckles.
- Back it down just until the clutter clears while fish arches and the bottom stay strong. On some units, Garmin notes, gain set in one sonar view applies to all views; on others each view (2D, down, side) has its own gain. Check yours, and make changes in a full-screen view so you know which one you're adjusting.
Prefer auto? That's fine. In Salt Water Sportsman, a Garmin manager explains that auto gain works well for most anglers and can still be nudged a step up or down when conditions change; a little goes a long way. Re-tune whenever the depth or the fish you're after changes.
Read the bottom with the "second echo." A classic manual trick from the same article: set the range to a bit more than twice the depth, raise the gain until a second copy of the bottom appears lower on the screen, then back off a notch or two. A thin, faint second echo usually means soft bottom (mud, sand); a thick, dark one means hard bottom (rock, rubble), which often holds bait and fish.
For side and down imaging, BoatUS says contrast and sensitivity work together: usually turn one down a bit as you turn the other up.
- Hard bottom (rock, shell, gravel): lower sensitivity and higher contrast to pick out fish close to the bottom.
- Soft, muddy bottom: higher sensitivity and lower contrast. Higher sensitivity also helps you see faint marks near the edge of your range.
Palettes don't change what the sonar hears, only how it's shown. Bright, high-contrast palettes often make fish and hard returns pop on 2D; many anglers prefer amber, blue or grayscale palettes for imaging. Try a few at the same spot and keep the one that shows structure most clearly in your light conditions. Some Garmin units have a color limit setting that hides the weakest color band to clean up faint clutter.
- Interference / noise rejection: Garmin advises using the lowest setting that gives the improvement you need, and points out that fixing installation problems is the best cure.
- Smoothing: softens speckle on the bottom; works well together with a low interference setting.
- Surface noise / surface clarity: hides clutter near the surface from waves, wakes and bubbles.
- TVG (time-varying gain): evens out how targets look at different depths and reduces noise near the surface. Too much filtering can erase small fish and bait, so turn each one up in small steps.
Photo: R. Henrik Nilsson / Wikimedia Commons · CC BY 4.0 Imaging pictures are usually sharpest at slow, steady speed in a straight line; check your unit's suggested speed. If the picture breaks up as you speed up but is clean at idle, the transducer is probably catching bubbles (cavitation). BoatUS explains that turbulence from the hull, strakes or the prop puts air over the transducer face, and no setting fixes that; the transducer location does (see our side imaging transducer guide).
If you see lines, dots or bands that don't move with the water, BoatUS suggests this sequence:
- Turn off every other electrical item and watch the sonar.
- Start the engine. Outboard ignition and charging systems are common noise sources.
- Turn on other gear one at a time (bilge pump, livewell, trolling motor, VHF, LED lights, other electronics) and watch for the noise to appear. If the noise is still there with everything else off, the unit's noise rejection may be at fault. Keep transducer and power cables away from heavy current-carrying cables and away from other sensor cables.
Two transducers on the same or similar frequency (for example a console unit and a bow unit) can interfere with each other, showing as regular streaks or arcs. Try switching one to a different frequency, turning one off, or using your brand's networked "sonar sharing" so one transducer serves both screens.
A weak or noisy supply can cause dim screens, reboots and noise. BoatUS notes that units wired to the starting battery may blank out or flicker during engine start, and that bad connections cause voltage drop. Measure voltage at the unit's plug with the engine off and running; if it's much lower than at the battery, clean and tighten connections (see our electronics power dropouts guide).
Live sonar (Garmin LiveScope, Lowrance ActiveTarget, Humminbird MEGA Live and similar) shows moving fish in real time, but the basics carry over. Garmin's help describes gain the same way as above: lower it to keep only the strongest returns, raise it to see everything, at the cost of more noise. Live views also have two ranges: a depth range and a forward range. Auto keeps the bottom in the lower part of the screen, which suits gentle bottoms; set it manually for drop-offs and ledges. Garmin also lets you stop the live transducer from transmitting, which is handy when you're checking whether it's causing interference on your other screens (step 11).
Once it looks right, save the setup if your unit allows user profiles, and note the settings per spot in BoatMend (depth, bottom type, frequency, gain, contrast, palette). Next trip you'll start close instead of from scratch.
Common mistakes
- Turning gain all the way up because a video said so, then fighting a screen full of clutter.
- Adjusting gain in a split-screen view and changing a different view than intended.
- Setting side imaging range far beyond what the depth allows.
- Stacking every noise filter at maximum and filtering out the fish.
- Blaming settings for a picture that falls apart at speed, when the transducer is in turbulent water.
- Forgetting the depth offset, so the display reads deeper (or shallower) than the water really is under the lower unit.
- Running two units on the same frequency and wondering about the streaks.
When to call a pro
- No bottom reading at any setting after a factory reset
- Foggy or water-damaged display, or a unit that keeps rebooting with good supply voltage
- Interference you can trace to the engine's ignition or charging system that filters can't remove
- Moving or reinstalling a through-hull transducer (it involves a hole below the waterline)
- Network problems when several displays and transducers share data
Tips
- Practice over a spot you know well, like a dock piling, bridge piers or a marked brush pile, and compare settings side by side.
- Take screenshots of good pictures and the settings that produced them.
- Update the unit's software; makers often improve auto modes and fix sonar bugs.
- Keep the transducer face clean and free of growth and paint buildup; follow the transducer maker's instructions for cleaning and approved coatings.
- When conditions change (wind, muddy water after rain, deeper water), revisit gain and contrast first.
Official references
We read these to write this guide. Your engine's own manual always wins.
- BoatUS – Fine-Tune Your Side-Scan Fishfinder (2024)
- BoatUS – How To Troubleshoot Depth Sounders and Fish Finders
- Garmin – Advanced Sonar Settings (ECHOMAP Plus help)
- Garmin – Sonar Gain (STRIKER help)
- Garmin – Sonar Noise Rejection Settings (GPSMAP help)
- Garmin – Setting the Keel Offset (ECHOMAP Plus help)
- Garmin – LiveScope and Perspective Sonar Settings (ECHOMAP UHD help)
- Salt Water Sportsman – Optimizing Fish Finders (sensitivity, auto gain, second bottom echo)
Safety: BoatMend is for information only and does not replace a certified marine technician. You are responsible for your safety and your boat. Read the full disclaimer.
Last updated 2026-10-25
Related guides
Fish Finder and Depth Sounder Transducers: Mounting, Fixing Bad Readings and Cleaning
Where and how to mount a transom-mount transducer so it reads cleanly at speed, how to track down lost bottom readings and noisy screens, how to clean and paint a transducer without ruining it, and why thru-hull transducers are a haul-out job for a pro.
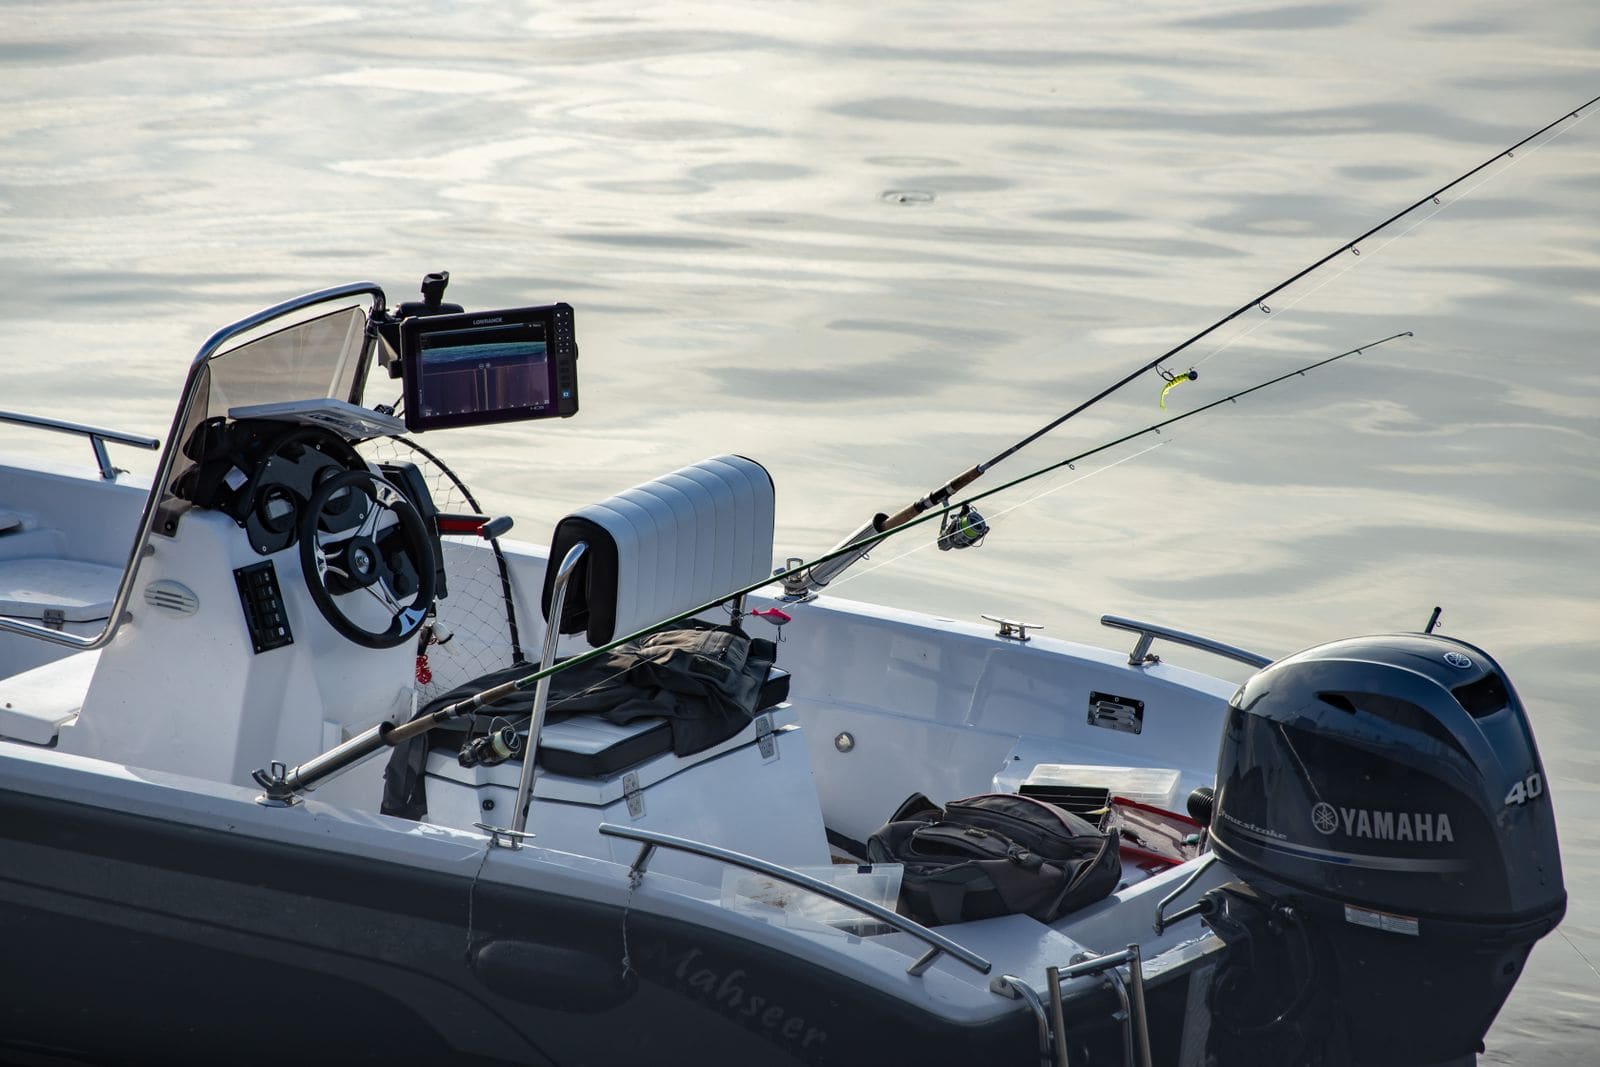
How to Place and Adjust a Side-Imaging and Down-Imaging Transducer
Get a clear, even picture on both sides of your side-imaging sonar by putting the transducer in clean water, at the right height, level, and where nothing blocks its beams. Then test at trolling speed and fine-tune in small steps.
Electronics That Reset or Shut Off When You Start the Engine: Finding and Fixing Voltage Sag
If your chartplotter, fishfinder, VHF or stereo blinks off or reboots when you crank the engine or switch on a big load, the cause is almost always low voltage reaching the device. This guide walks from the cheapest checks (battery, connections, grounds) to the real fixes: a dedicated electronics feed, start isolation between batteries, and voltage-stabilizing converters.
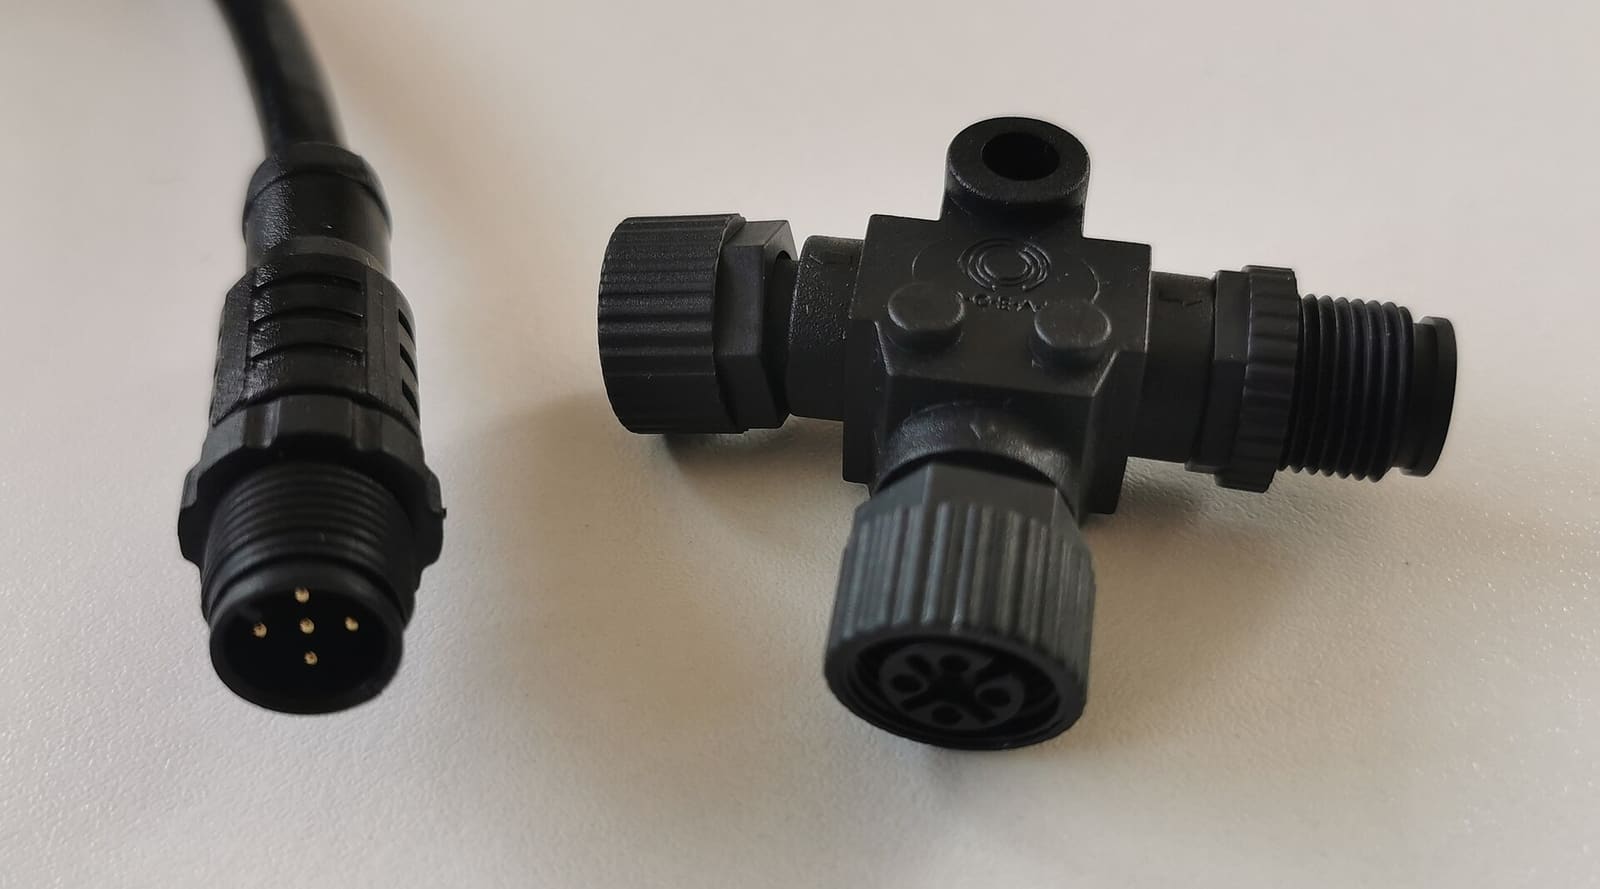
NMEA 2000 Network Basics and Troubleshooting (Plus Chartplotter Updates)
Understand the backbone, terminators, power tap and drop cables that tie your chartplotter, engine data, GPS, depth and autopilot together, then track down why a device keeps dropping off. Finish by updating chartplotter and device software the safe way.
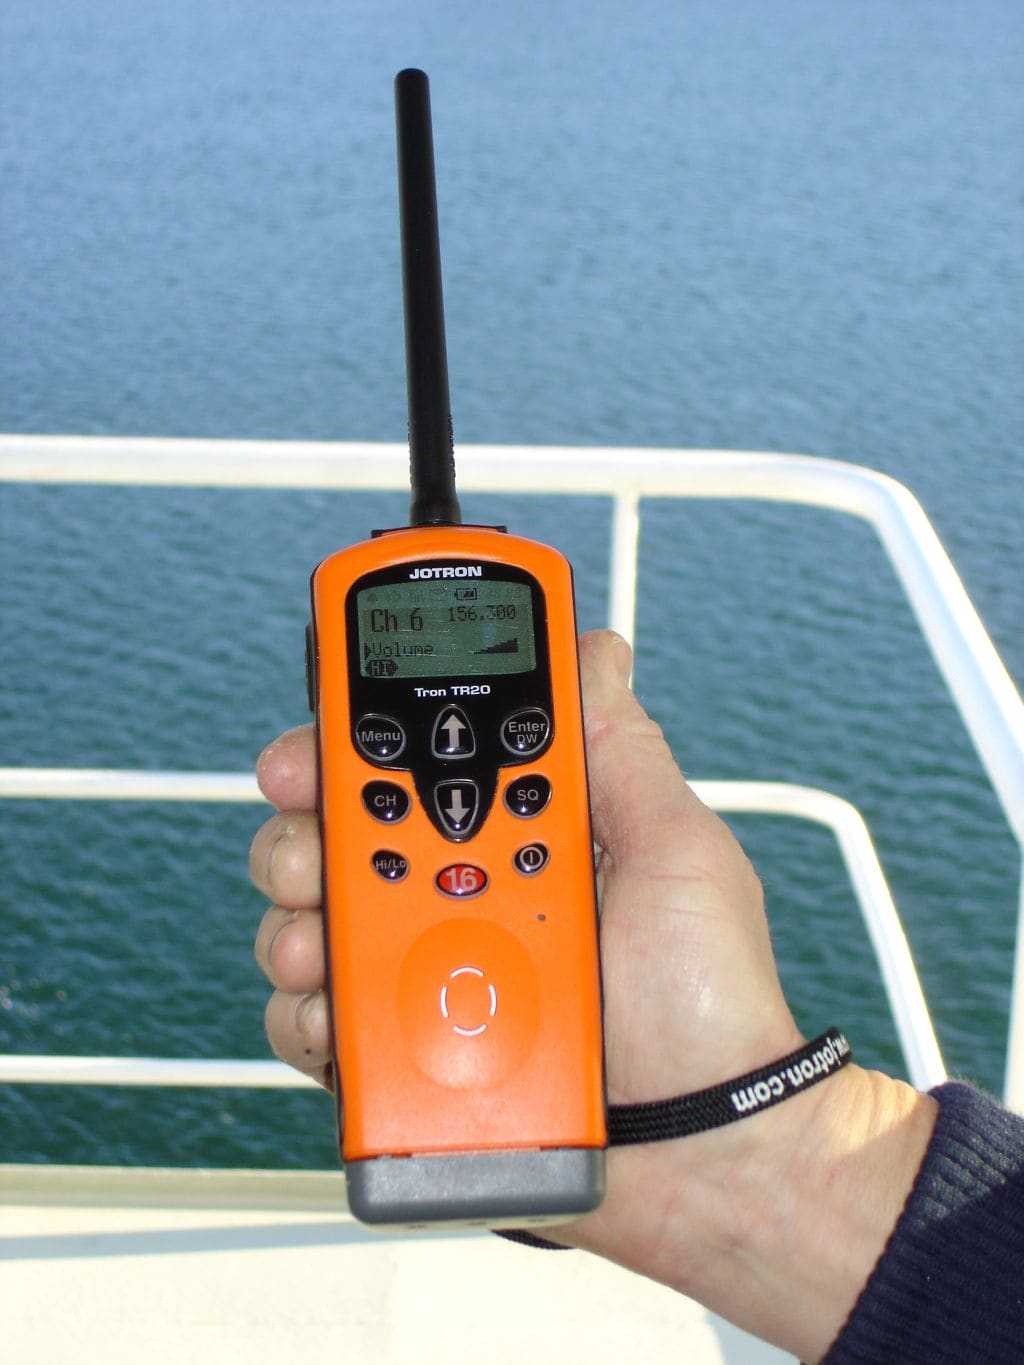
How to Find and Fix LED Lights That Interfere With Your VHF and AIS
Some LED bulbs and fixtures put out radio noise that quietly drowns weak VHF calls, DSC alerts and AIS targets. Run the Coast Guard's squelch test, track down the noisy light with a handheld radio, and fix it with distance, filtering or a quieter fixture.

Trolling Motor Won't Run, Runs Weak or Cuts Out: How to Troubleshoot It
Work through a dead, weak or on-and-off trolling motor from the cheapest checks to the hardest: battery charge and load test, connections, the breaker, line wrapped behind the prop, stow and deploy problems and GPS anchor glitches. Most problems turn out to be power supply; motor head and steering electronics are a service-center job.
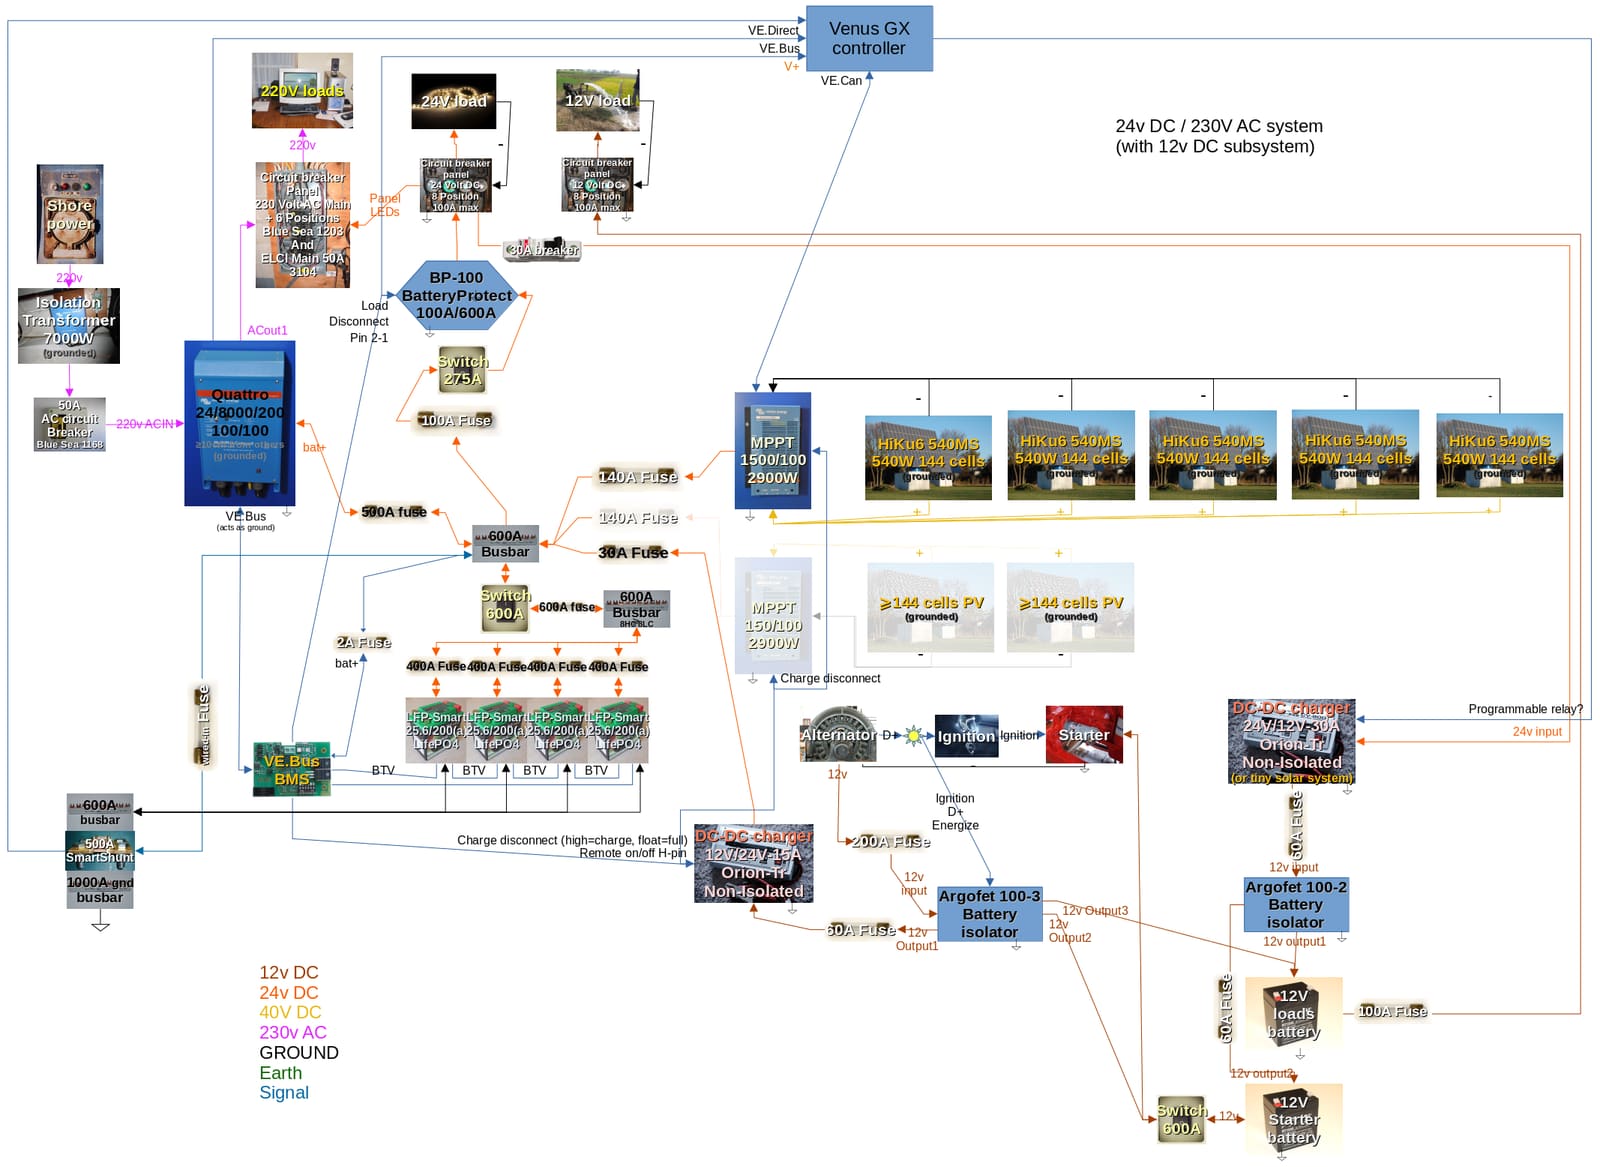
Make Your Own Boat Wiring Diagram
Trace your boat's 12-volt circuits one wire at a time, label them so the labels last, and draw a simple diagram you keep aboard. It takes a few weekends, but it turns every future electrical problem or upgrade into a faster, cheaper job.