Towable Tube Care and Repair: Find Leaks, Patch the Bladder and Know When to Retire It
Inspect a towable tube's bladder, cover, valves, handles and tow point, find and patch leaks the right way, and dry and store it so it lasts. Also covers rider ratings and the damage that means the tube should be retired, not repaired.
Time
1 h
Applies to
All engines
Safety first: A tube that tears, deflates or loses its tow point at speed can throw riders hard. Never tow a tube with a damaged tow point, torn rider handles or a leak you have not fixed. Repair adhesives are flammable and give off fumes: work outdoors or in a well-ventilated space, away from flames and cigarettes, and keep the adhesive off your skin and out of your eyes.
Owners often ask
- How do I find and patch a leak in my towable tube bladder?
- The cover on my tube is torn. Is it still safe to use?
This guide walks you through it. Still stuck? Ask the AI Mechanic about your engine.
Tools
- Electric tube pump with the right valve adapter (and a hand pump for top-offs)
- Bucket, dish soap and a sponge
- Permanent marker
- Sharp scissors
- Rubbing alcohol or the cleaner your repair kit names, and clean rags
- A smooth roller or the back of a spoon (to press the patch)
- A flat weight such as a dive weight or a brick wrapped in a towel
Parts & supplies
- Repair kit made for your bladder's material (patches and adhesive)
- Replacement valve or bladder from the tube maker, if needed
- Tube tow rope rated for the number of riders on your tube
Before you start
Most towable tubes have two parts:
- The bladder: the inner air chamber (or chambers), usually a heavy vinyl or PVC "balloon."
- The cover: a tough nylon shell that takes the abrasion and the pulling load, with the handles, knuckle guards and tow point sewn to it.
The cover carries the load; the bladder holds the shape. Damage to either one matters.
Check the warranty first. Airhead, for example, says its tubes carry a one-year warranty and its repair guide is meant for tubes outside that period. O'Brien also gives towables a one-year warranty and asks you to start at the authorized dealer you bought from, with your proof of purchase. A DIY patch may affect a claim, so contact the maker before you repair a newer tube.
Check what parts the maker sells. Not every brand sells covers on their own: O'Brien says it doesn't make separate covers for its inflatables, and tells owners with a seam leak they can't patch to contact customer service. So a badly torn cover can mean a new tube, while a bladder or valve may be replaceable. Ask before you spend money on a repair.
Know your rider rating. Every towable has a warning label listing the number of riders and usually a weight limit, and often a speed and age guideline. West Marine points out there are only enough handles for the rated number of riders, and it cites HO Sports warning that going over the weight limit can damage the tube and make it unsafe. A tube rope must also be rated for the tube's rider count.
Steps
Inflate the tube with a good pump until it is very firm. Airhead describes a correctly inflated towable as having little or no wrinkling in the cover, which should fit like a second skin; an adult standing on it should not sink in more than about an inch. Tubes are low-pressure, high-volume products, so you do not need a high-pressure pump, but lung power is not enough. If your tube has several chambers with different valves, follow the inflation order in its manual. Check the label for any maker's pressure.
Look over the whole nylon cover in good light:
- Tears, holes or worn-through spots, especially on the bottom
- Seams that are separating or have broken stitching
- A zipper that will not close all the way, or a broken zipper pull
- Faded, chalky or stiff fabric (sun damage weakens it)
A tear in the cover is more serious than it looks. The bladder can push out through the opening ("herniate"), and that bulge is far more likely to burst. Small tears can sometimes be stitched by a canvas or sail repair shop; a cover with large or many tears should be replaced if the maker sells one, or the tube retired.
These are the safety-critical parts:
- Rider handles: pull each one firmly. Stitching should be intact, with no fraying where the strap meets the cover.
- Knuckle guards: present and in place over each handle.
- Tow point: whether it is a quick-connect clip, a tow hook or a sewn-in harness, look for cracks in plastic or metal parts, fraying webbing and torn fabric around the attachment.
Any damage here means the tube is done for the day. A tow point or handle failure at speed is not something to patch with glue.
Airhead says valve leaks are common and often caused by grit or sand stopping the one-way flap inside the valve from closing. Before you hunt for a hole:
- Clean the valve and its cap and blow out any sand with the pump.
- Make sure the cap and any inner plug are fully seated. On two-part screw valves (often called Boston valves), check that both parts are snug.
- Put soapy water on the valve. Bubbles mean the valve itself is leaking.
If the valve still leaks after cleaning, it may need replacing. Some valves are serviceable with parts from the tube maker; others are part of the bladder. Ask the maker before you buy anything. Lost the cap or plug? O'Brien, for one, sells replacement Boston valves through its dealers and customer service, so you don't need a new tube.
Take the bladder out of the cover (usually through the zipper). Then use one of Airhead's two methods:
- Soapy water: inflate the bladder until taut, then sponge on a mix of water and a little dish soap. Watch for growing bubbles.
- Submerge it: let the bladder down to about three-quarters full and push it slowly under water, a section at a time, watching for a line of bubbles.
Circle every leak you find with a permanent marker, then check the whole bladder: there may be more than one hole.
- Pinhole or small puncture in a flat area: usually repairable.
- Small tear in a flat area: repairable with a patch.
- Leak on or right next to a seam: Airhead warns these may not be repairable. A replacement bladder (sold by many tube makers for their models) or a new tube is the usual answer.
- Many leaks, or a bladder that is brittle, cracked or sticky: the material is worn out. Replace the bladder or retire the tube.
Use a kit made for your bladder's material. Airhead notes that PVC inflatables need a different kit than the one it sells for its own bladders, so check the tube's label or manual for the material. Adhesives that do not match the material may never bond properly. Read the kit's instructions before you start; they override general tips like these.
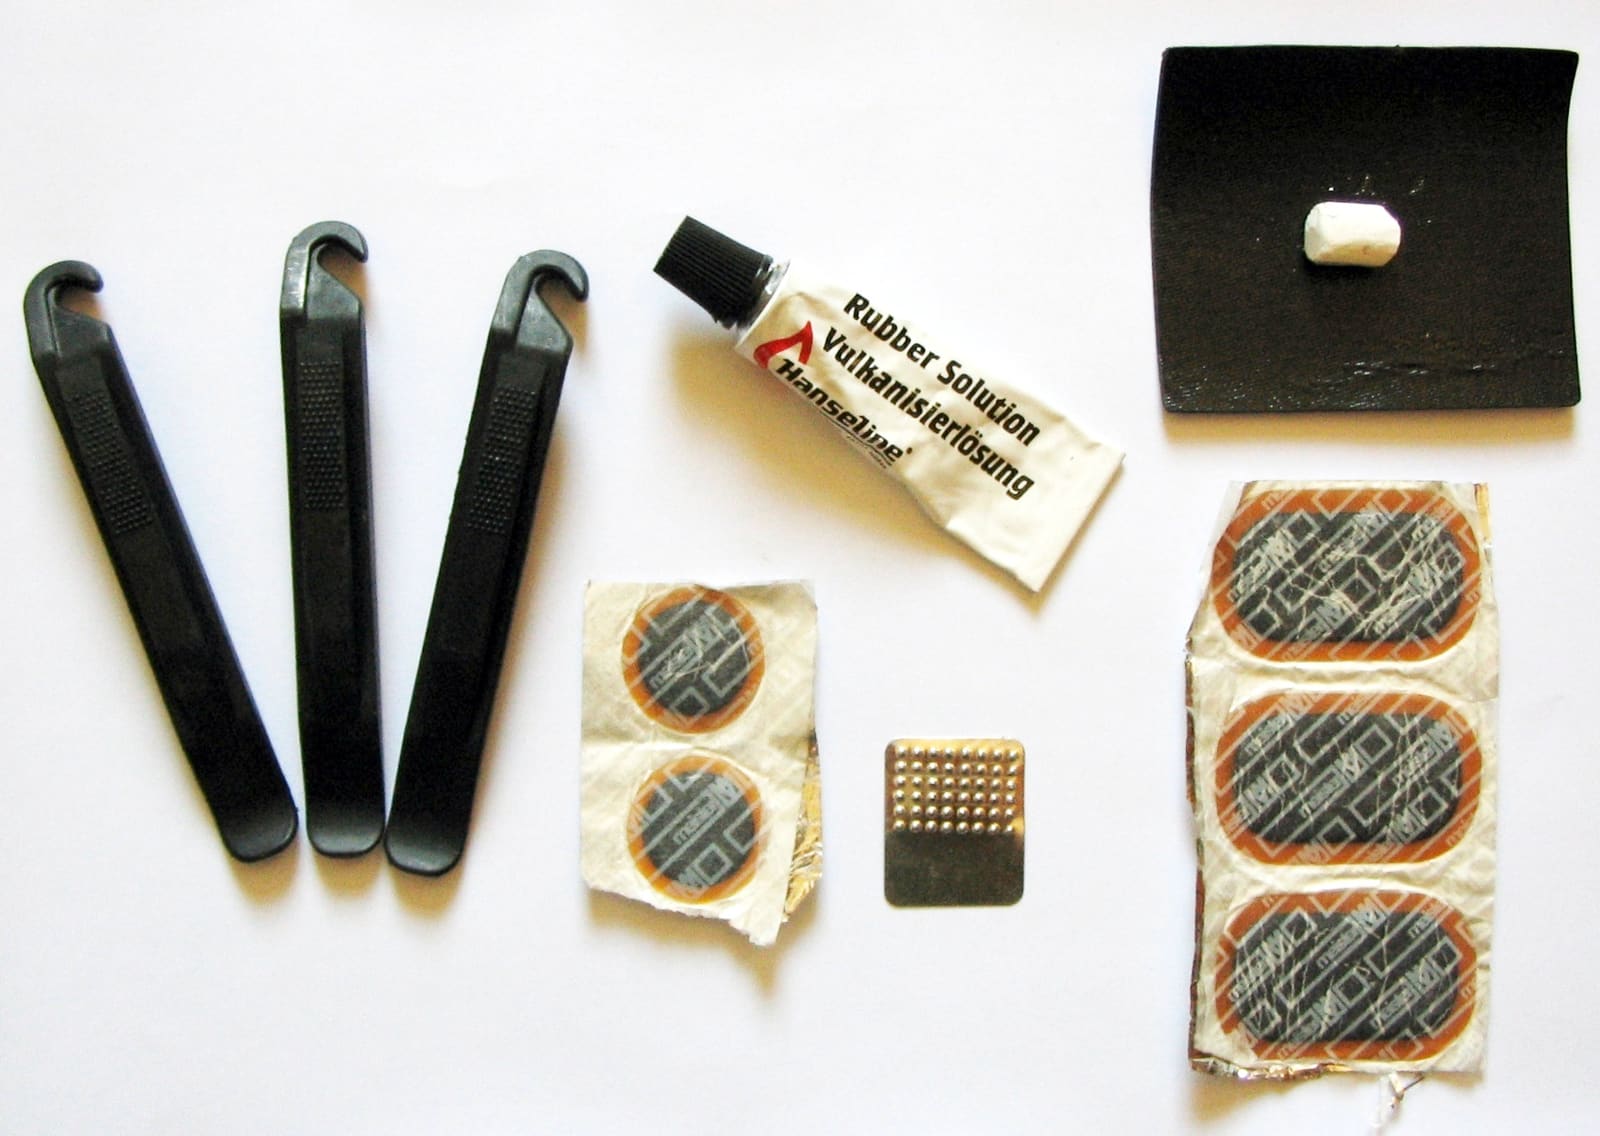
Not the kit to grab: a bicycle puncture kit like this one (rubber patches and rubber solution) is made for rubber inner tubes, not a vinyl or PVC tube bladder. Photo: Björn Appel / Wikimedia Commons · CC BY-SA 3.0 Deflate the bladder completely and lay it flat on a clean, hard surface. Clean the area around the leak with the cleaner your kit names (often rubbing alcohol) and let it dry fully. Patches do not stick to dirt, sunscreen, oil or damp vinyl.
For a pinhole, Airhead says one or two drops of repair adhesive placed right on the hole may be enough.
For a larger hole or tear, follow the patch method:
- Cut a patch that covers the damage plus about half an inch all around, rounded (no square corners, which peel).
- Spread a thin layer of adhesive on the patch and on the area around the hole.
- Wait until the adhesive is tacky; Airhead suggests about two to four minutes, but follow your kit.
- Lay the patch on and press from the center out to the edges to push out air.
- Put a flat weight on it so it dries flat.
Patience is the repair. Airhead calls for at least 24 hours of drying before use. Some kits give a different time; use the longer of what your kit and the maker say. Airhead also suggests sealing the patch edges with a little more adhesive once it has dried. Then inflate the bladder and check the patch with soapy water before it goes back in the cover.
Put the bladder back in the cover with the valves lined up with their openings and no twists or folds. Inflate fully. The cover should fit smoothly and evenly. Close the zipper all the way and fit any zipper cover or flap.
- Rinse with fresh water after every use (especially salt water) and clean with mild soap only; SCHEELS warns that harsh chemicals can damage the material.
- Do not leave an inflated tube sitting in the sun on shore. Airhead and Jobe both note the air expands in the heat; let some air out and move it into the shade.
- Let it dry completely, cover and bladder, before storing, to avoid mold and mildew.
- Deflate fully for storage, which also takes stress off the seams, and store it in a cool, dry place out of sunlight and away from sharp objects, chemicals and fumes.
- Mice love a folded tube in a garage or boat locker for the winter. Airhead suggests a lidded, critter-proof plastic tub; a chewed bladder in spring is usually a new bladder.
- Carry the tube rather than dragging it over gravel or concrete.
Replace the tube (or at least the damaged part) when you find:
- A torn or loose tow point, or rider handles with damaged stitching
- A cover with large tears, rotted fabric or failing seams
- Seam leaks, many patches, or a bladder that keeps leaking
- Cracked, brittle or sticky bladder material
- A tube that will not hold firm pressure through a day of riding
A tube is cheap compared with an injury. When in doubt, retire it.
Common mistakes
- Running a soft tube. Airhead and Jobe both say an under-inflated tube sits low and gets dragged through the water, which strains the tube, cover, rope and boat and can rupture the bladder or tear the cover. Top it off during the day.
- Over-inflating with a high-pressure compressor. SCHEELS warns overinflation can stretch or damage seams. Use a tube pump and follow the maker's guidance.
- Patching right over a seam and expecting it to hold.
- Taking the tube out an hour after patching. The adhesive needs its full cure time.
- Ignoring a small cover tear until the bladder bulges through and pops.
- Putting more riders on than the label allows, or using a rope rated for fewer riders than the tube.
- Storing it wet or in the sun, then finding mildew, faded fabric and stuck valves next season.
When to call a pro
- The tow point, harness or rider handles are damaged: replace the part through the maker or retire the tube
- A cover tear needs stitching (a canvas or sail repair shop can sometimes help)
- The tube is under warranty: contact the maker before any repair
- Your boat's tow eye or pylon is loose, cracked or flexes under load: have a marine technician inspect and repair it before towing anything
Tips
- Keep a small repair kit, a bottle of dish soap and a hand pump in the boat for day trips. Leaks are easier to find on the water than at home.
- Write the purchase year on the tube's label with a marker so you know how old it is.
- Photograph the warning label when the tube is new; labels wear off, and you will want the rider and speed ratings later.
- Before the first ride each season, do steps 1 to 4 at home, not at the ramp.
- For towing technique, spotter rules and rope inspection, see our tow ropes and watersports gear guide. Mercury suggests roughly 8 to 10 mph for small children and closer to 20 mph for more adventurous riders, and reminds drivers that tight turns make the tube go much faster than the boat. Mercury's tow-sports etiquette adds that where no law sets a distance from shore, keeping at least about 150 feet off docks, swimmers and the shoreline gives a safety margin, and a swinging tube needs more room than the boat does.
Official references
We read these to write this guide. Your engine's own manual always wins.
- Airhead – Handy Guide to Inflatable Repair
- Airhead – Tips to Make Sure Your Towable Water Tubes are Properly Inflated
- Airhead – Safety Tips for Pulling Towables From Your Boat or Personal Watercraft
- O'Brien Watersports – FAQs (towable warranty, Boston valves, leaks, covers)
- West Marine – How to Select Towable Tubes and Tow Ropes
- SCHEELS – Towable Tube Care
- Jobe Sports – 4 Tips to Make Your Towable Last Longer
- Mercury Marine – Tips for Towing Tubers
- Mercury Marine – 5 Tow Sports Do's and Don'ts
- Airhead – Creating Less Clutter, Store Your Water Toys With Ease
Safety: BoatMend is for information only and does not replace a certified marine technician. You are responsible for your safety and your boat. Read the full disclaimer.
Last updated 2026-10-24
Related guides
Tow Ropes, Tubes and Watersports Gear: Inspect, Rig and Retire
Check ski, wakeboard and tube ropes, handles, towable tubes and your boat's tow points before every outing, rig them the right way, and know when to throw gear out. Includes the safety basics (spotter, flag, life jackets, prop and carbon monoxide) that vary from state to state.
Inflatable Boat and Dinghy Care: Cleaning, UV Protection, Leaks and Storage
Keep your inflatable or RIB tender holding air for years. Rinse and clean it the right way, protect the tubes from sun, check pressure with a gauge, find slow leaks with soapy water, service the valves, patch small holes with the correct glue for PVC or Hypalon, and store it clean and dry.
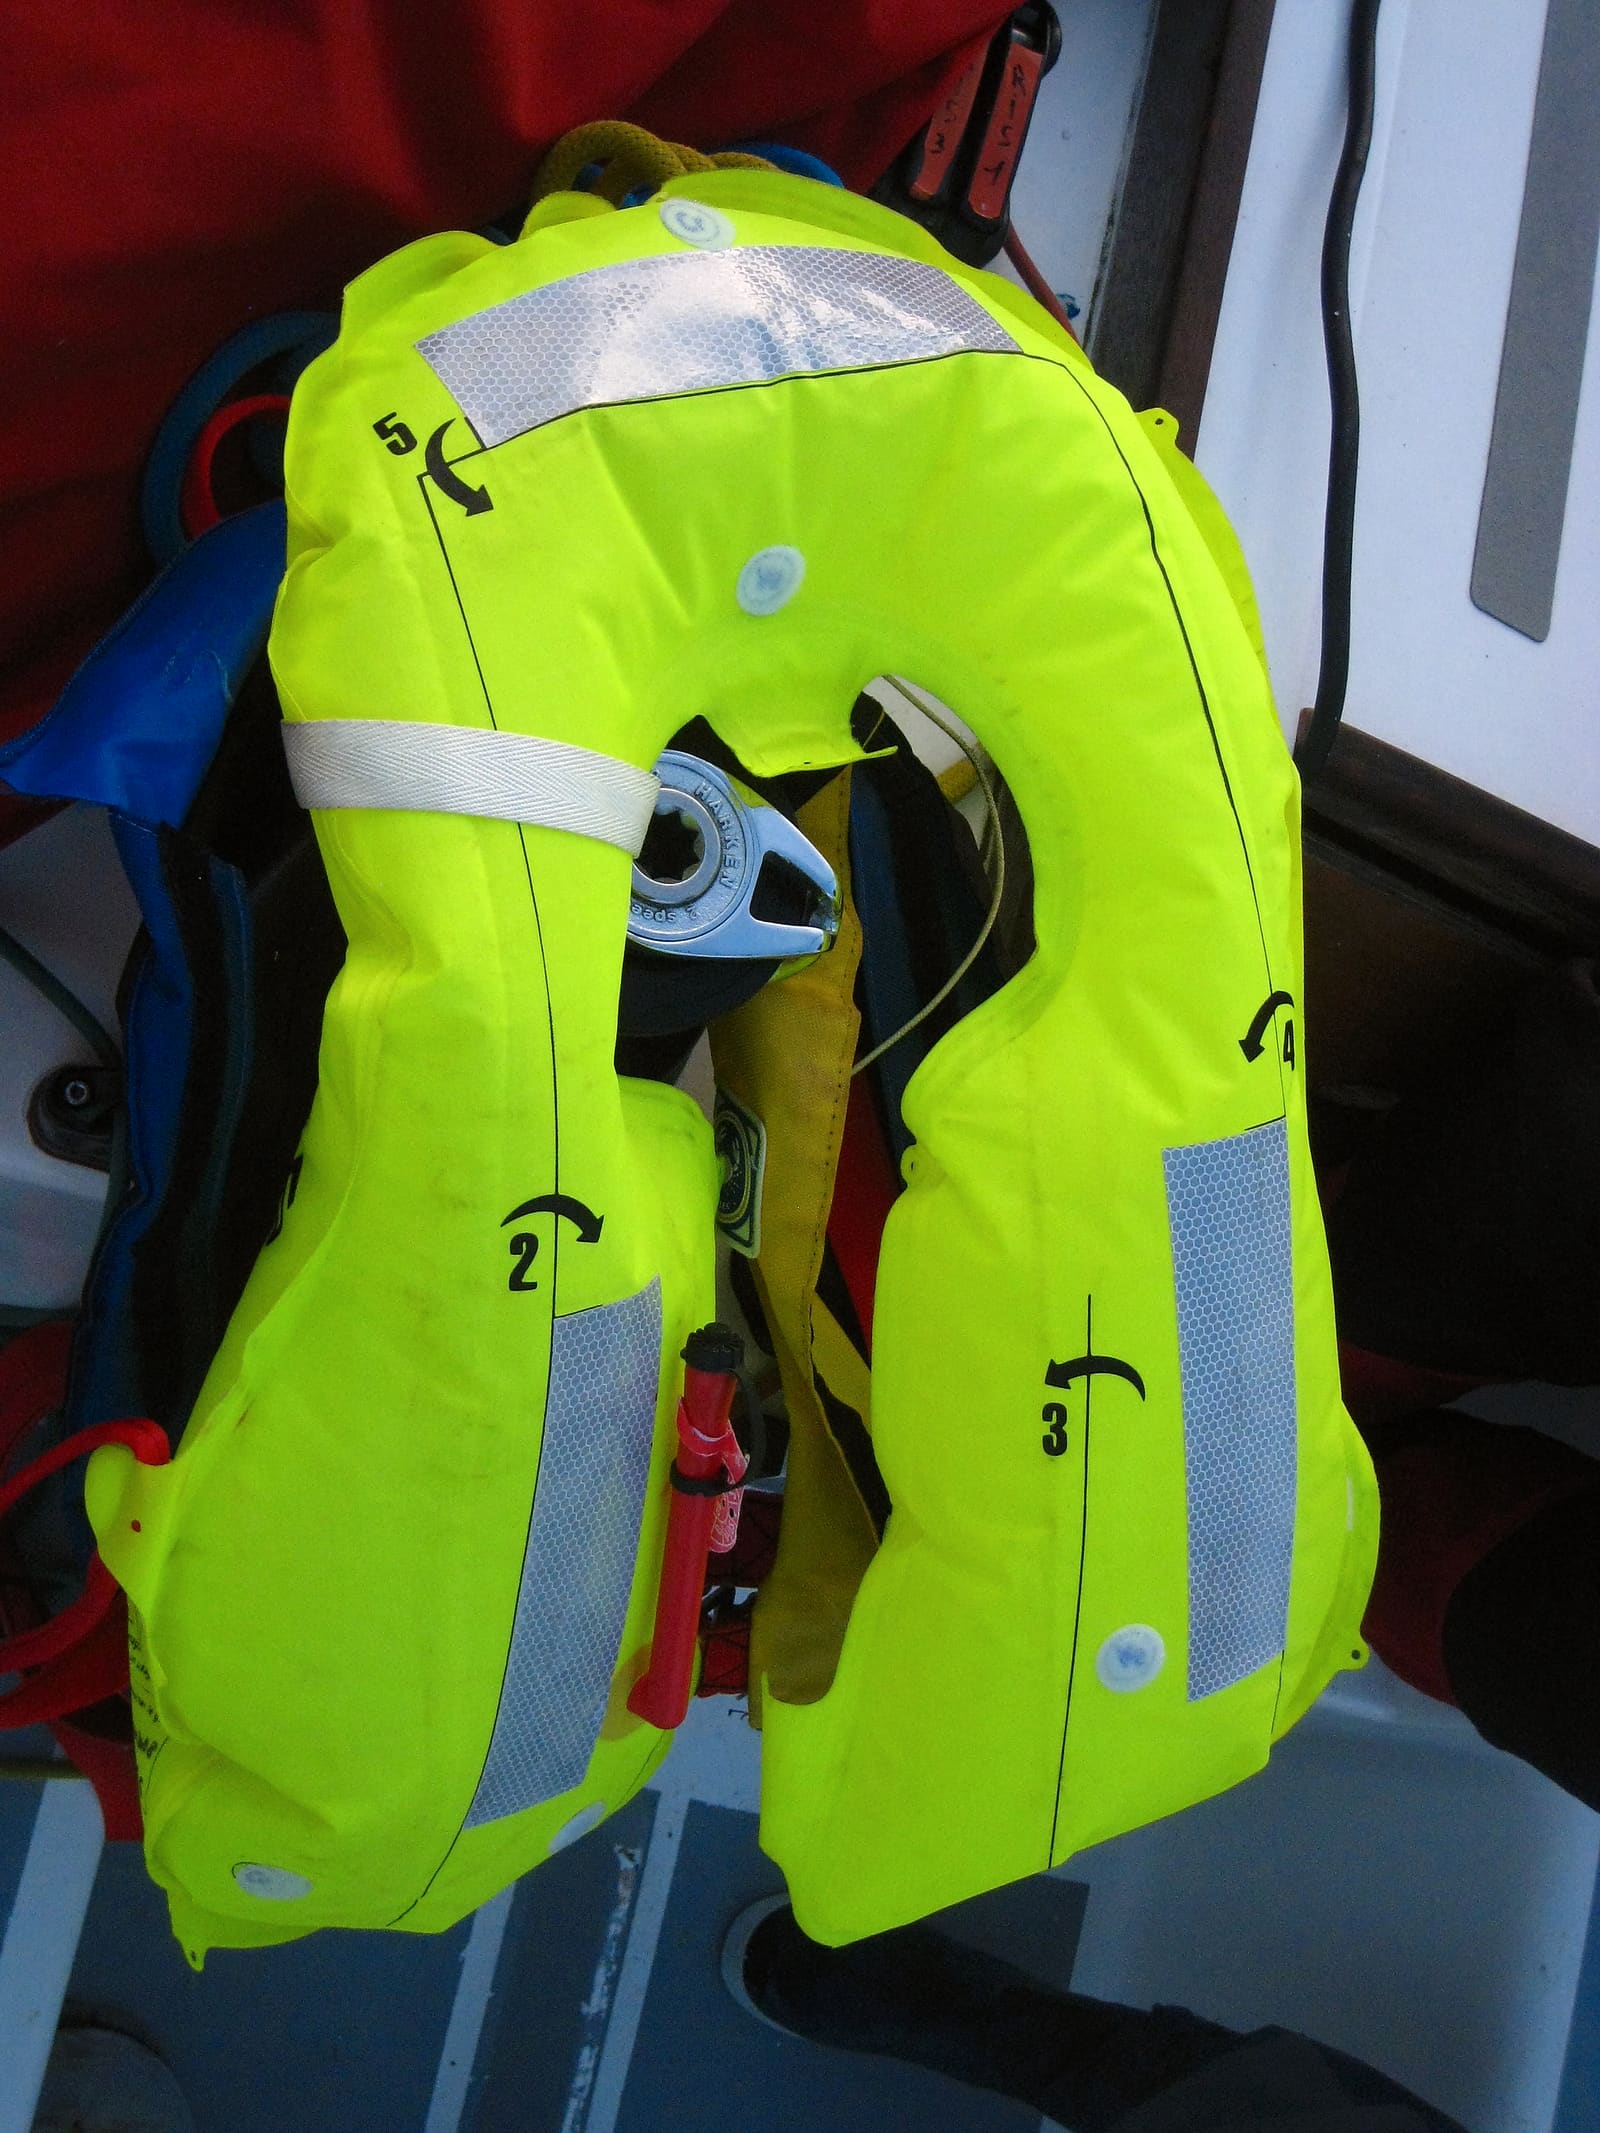
Inflatable Life Jacket Care: Inspect, Test and Rearm
An inflatable life jacket only saves a life if the cylinder is full, the inflator is armed and the bladder holds air. Learn the quick check before every trip, the overnight leak test, how to read replacement dates and how to rearm it after it fires.
Engine Cut-Off Switch (Kill Switch) and Lanyard: The Law, Testing and Daily Use
How the engine cut-off switch (ECOS) and its lanyard or wireless fob work, when federal law requires you to wear it (boats under 26 feet, 3 hp or more, on plane), how to test it before every trip, and why a spare clip aboard matters.
Wakesurf Safety: The Right Boat, Carbon Monoxide, Spotters and Distance
A pre-ride checklist for wakesurfing - surf only behind inboard or V-drive boats built for it, keep riders away from exhaust and the engine off when they board, use a spotter and a short surf rope, stay well away from shore, docks and other boats, and never overload the ballast.