Battery Isolators Compared: Diode, ACR, Combiner and DC-DC Charger
Learn what the box between your engine and your batteries actually does, why an old diode isolator can leave batteries never quite full, and which charging setup suits an outboard, an inboard or a lithium house bank, plus a simple meter check of the one you have.
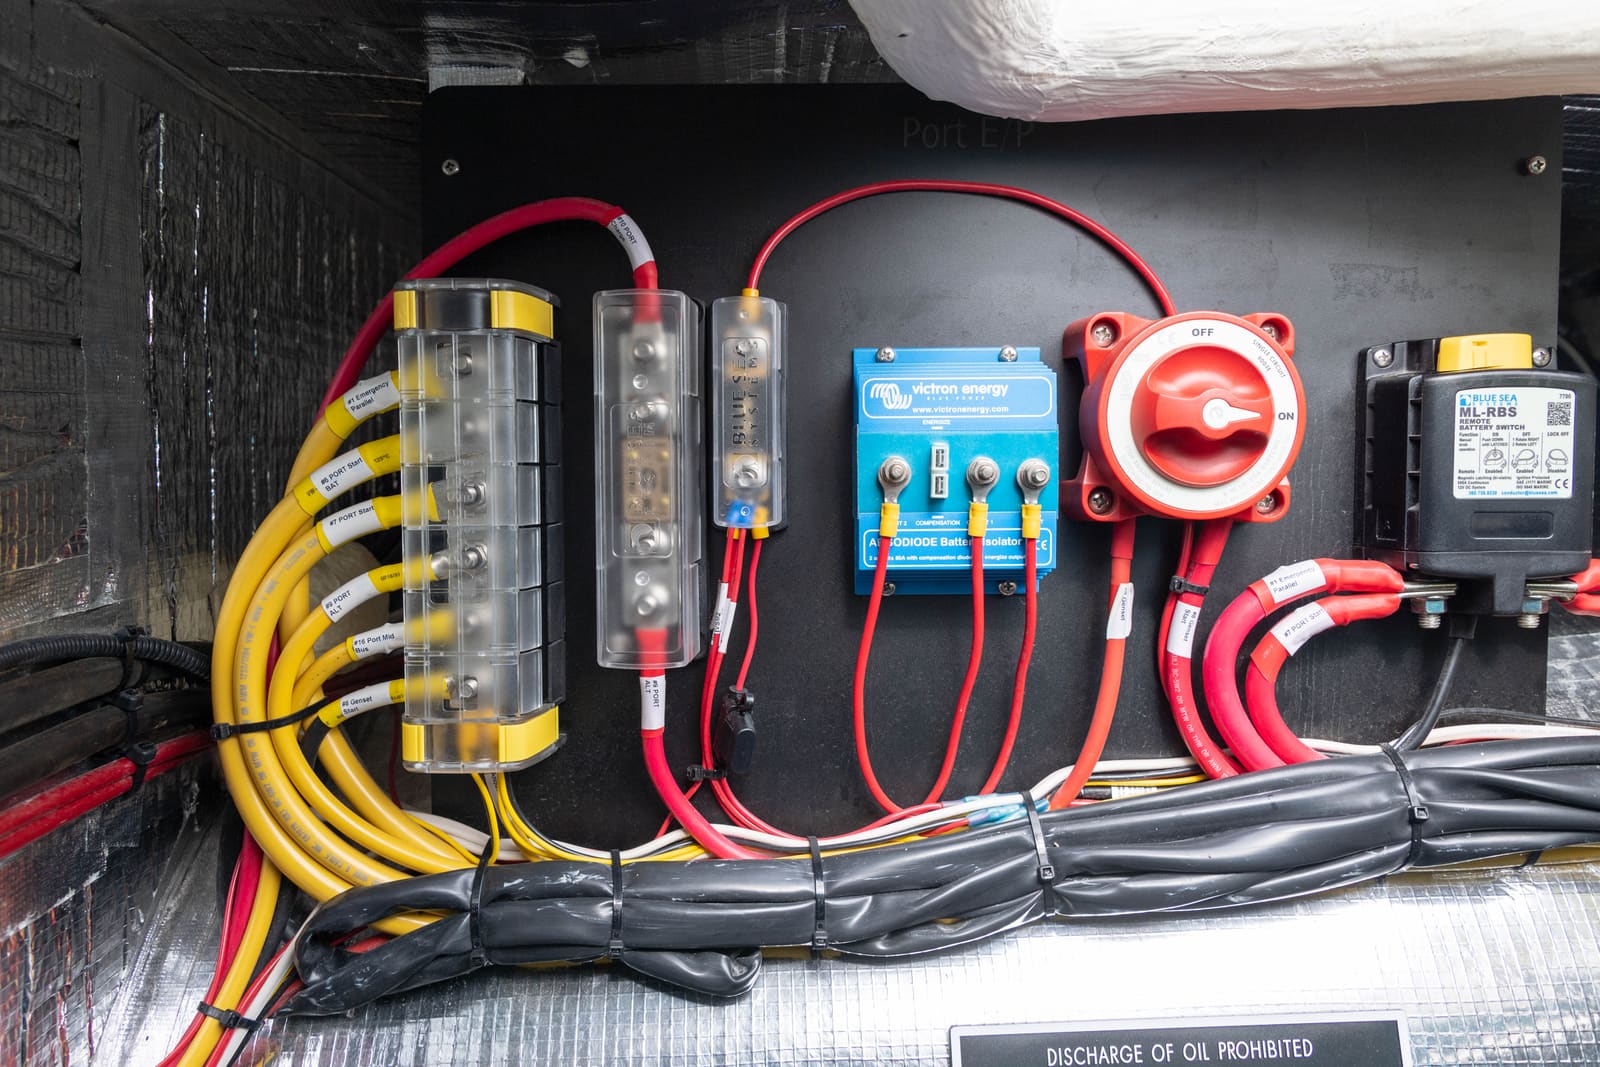
Time
1 h
Shop would charge
$300-1500
Applies to
All engines
Safety first: The checks in this guide are made with a meter only, with nothing disconnected. Isolators, relays and DC-DC chargers sit on high-current battery cables: removing, replacing or rewiring one, or adding a battery bank, is a job for an ABYC-certified marine technician. Keep tools away from bare battery posts, and if a device or its cables are hot, discolored or smell burned, turn the battery switches off and call a pro.
Owners often ask
- Why won't my house battery charge fully from the outboard? I have a diode isolator.
- Can I charge my new lithium battery from the engine alternator through a battery combiner?
This guide walks you through it. Still stuck? Ask the AI Mechanic about your engine.
Tools
- Digital multimeter
- Flashlight or headlamp
- Phone camera for photos and labels
- Safety glasses
Parts & supplies
- None for the checks; a replacement isolator, ACR or DC-DC charger only after you've chosen one with a technician
Before you start
Most boats with two or more batteries want the same thing: the engine (and the shore charger) should charge every battery, but running the stereo or fridge at anchor should never drain the battery you need to start the engine. Blue Sea Systems describes the job of every device in this guide that way: share charging current with all batteries, then keep them apart while they discharge.
There are four common ways to do it:
- Diode isolator: a finned box with silicon diodes that act like one-way valves.
- Automatic charging relay (ACR): also sold as a "voltage-sensitive relay" or "battery combiner"; a heavy switch that closes when it sees charging voltage and opens when the voltage falls.
- DC-DC charger: a small charger that takes power from the starting battery side and charges a second bank with its own charging profile. Required for most lithium house banks.
- Manual switch only: a 1-2-BOTH switch the skipper has to remember to turn. See our battery switch guide.
You may also meet a newer in-between type: electronic (FET or "digital") isolators. ProMariner, for example, sells diode isolators alongside a digital line it says avoids the voltage loss of traditional diode isolators, with status LEDs and software that sends charge to the most discharged bank first. They do the same job as a diode isolator; check the maker's manual for how yours senses voltage and whether it suits your engine. Victron makes the same point about its FET isolators: where a diode isolator loses well over half a volt, Victron rates its FET units at only about a tenth of a volt at higher currents, so the alternator's regulator doesn't need to be fooled into making up the difference. Victron also sells versions with an "alternator energize" input for alternators that need a small current to start charging; if your old diode isolator had an extra small terminal wired to the alternator, tell your technician before anyone swaps it.
You don't need to rewire anything to benefit from this guide. Knowing which one you have explains a lot of "my house battery never seems full" complaints.
Steps
Open the battery compartment and follow the heavy cable from the engine's charging output (or the battery switch) toward the batteries. Look for:
- A finned aluminum box with three or more large studs, often labeled with a "1," "2" and "A" or "ALT": a diode isolator.
- A compact sealed relay with two big studs and a small ground wire, sometimes with an LED or a manual-override knob: an ACR or combiner.
- A box labeled "DC-DC," "battery to battery" or "charger" with input and output terminals and often a Bluetooth logo: a DC-DC charger.
Photograph the label and model number, then look up that model's manual on the maker's website.
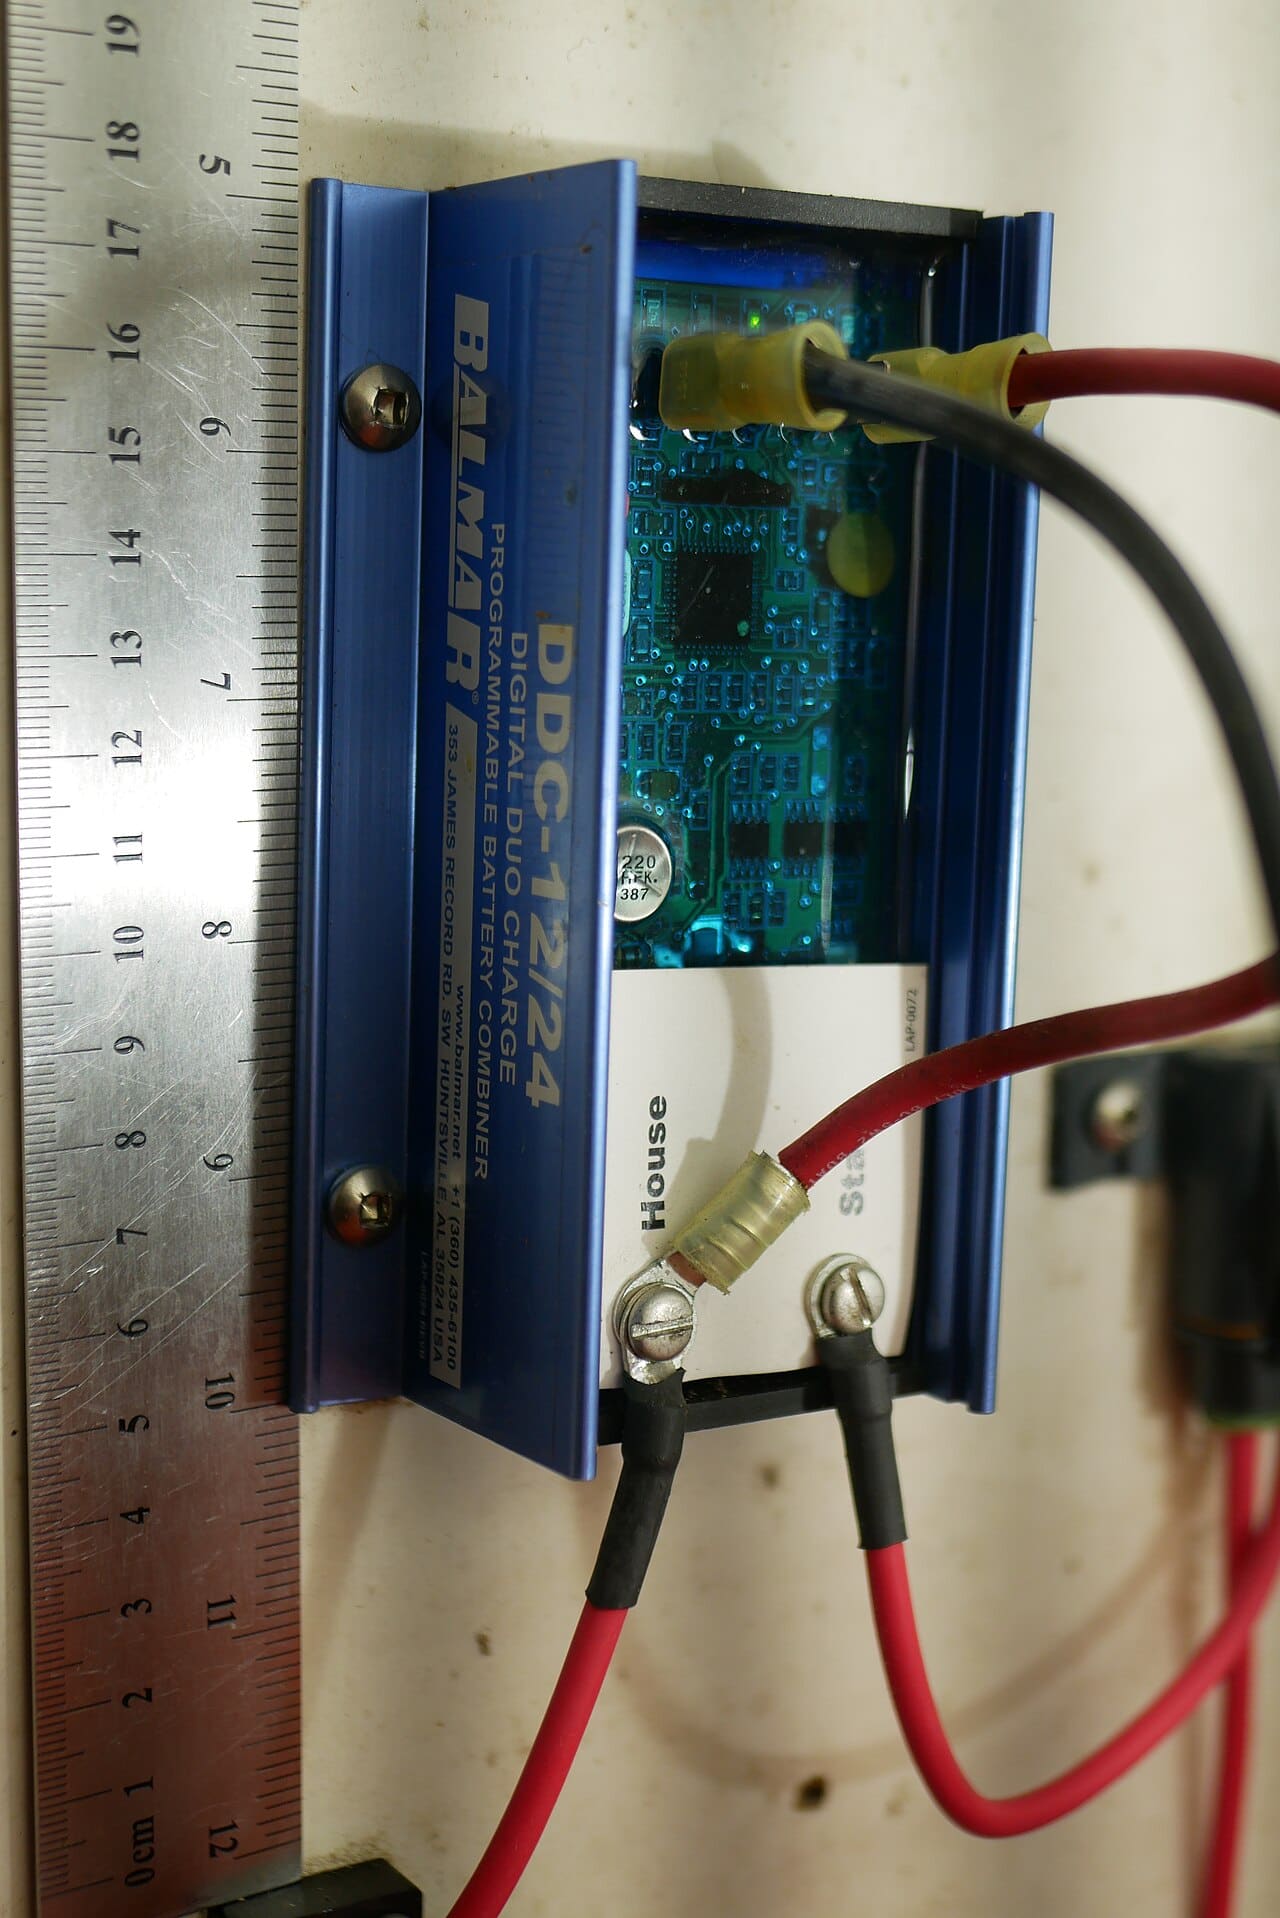
An electronic battery combiner, one of the many in-between devices you may find. The House and Start labels show which bank each cable feeds; the model number on the label leads you to its manual. Photo: WindBorneListener / Wikimedia Commons · CC0 Blue Sea Systems explains that the diodes let current flow from the charging source to each battery but never backward from one battery to another. The price is a voltage drop of about 0.7 volts across the diodes. If the alternator's regulator only senses its own output, every battery behind the isolator sees about 0.7 volts less than it should, and over time the batteries are chronically undercharged.
Diode isolators can work well when the alternator or charger has a remote sense wire connected at the battery, so the regulator raises its output to make up for the drop. Without that, Blue Sea calls the performance poor. They also get warm in normal use, so they need open air around the fins.
With the engine running at a fast idle (outboard in the water or on external flush muffs, never dry; inboards in the water), set the meter to DC volts and measure:
- Across the isolator's input (alternator) stud and battery negative.
- Across each battery's posts.
A difference of several tenths of a volt to about a volt between the input and the batteries is the diode drop doing its job. If the batteries read noticeably low while charging (compare with the charging voltage your engine or battery maker specifies), the setup may need a regulator with remote sensing, or a switch to an ACR. Our charging-system test guide covers what normal charging voltages look like.
On an outboard, the same cable carries charging current out to the batteries and starting current back to the starter. A diode won't let current flow backward, so Blue Sea Systems warns that outboards (and inverter/chargers, for the same reason) can't be connected through an isolator. That is why most outboard boats use an ACR, a manual switch, or charging leads built into the engine.
Some larger outboards have a separate charging lead meant for a house battery. If yours does, your owner's manual shows how it's meant to be used, so you may not need an extra device at all.
An ACR is an automatic switch. Blue Sea Systems says it typically closes when one battery rises to roughly 13.2 to 13.7 volts, meaning a charger or the alternator is working, and opens again when the voltage falls to roughly 12.4 to 13.1 volts, depending on the model. While it's closed the batteries are effectively one bank, with almost no voltage drop. When it opens, your house loads can only drain the house battery.
Advantages: no voltage loss, works with the alternator and charger you already have, and works on outboards. It's the usual choice for lead-acid starting plus lead-acid house batteries.
Blue Sea points out one quirk. If a multi-stage shore charger feeds only one battery directly and the second through an ACR, the charger may drop to its lower "float" voltage, which can be too low to keep the relay closed. Meanwhile the other battery, the one powering the fridge or bilge pump, slowly runs down. The fix is to connect the charger to the battery that carries the loads, or to use a charger with a separate output for each bank.
An ACR that clicks on and off over and over is a related problem Blue Sea calls cycling. The relay closes, the big or deeply drained second bank (or a heavy load on it) pulls the voltage down faster than the charger or alternator can supply, the relay opens, the voltage recovers, and it closes again. It isn't dangerous, but the second bank never really charges and the relay wears. Blue Sea lists three usual causes: a load bigger than the charging source, a very large or very flat second bank, and sensing wires connected far from the battery being charged. Their suggestions: on a boat with a big house bank and a small start battery (many sailboats), feed the charger into the house bank; on a fishing boat that starts and stops all day, keep it on the start battery; and fix long sensing runs with closer connections or remote sensing. Note the clicking and tell your technician which battery the charger feeds.
Some ACRs also separate the banks while you crank. Blue Sea notes that starting an engine while the banks are combined can sag or spike the house voltage enough to reset a GPS or other electronics. Their "start isolation" models take a signal from the key switch's start wire and open the relay just before the starter engages. If your chartplotter or stereo reboots every time you start the engine, ask whether your combiner has this feature and whether it's connected.
A DC-DC charger is a charger in its own right. It draws from the starting battery side while the engine runs and charges the second bank with a controlled current and its own charge profile. Boating Magazine, quoting a Navico technical manager, describes it as doing the isolating job of an ACR while also converting the alternator's output into the profile a lithium battery needs.
They're also useful when a long cable run would starve the second bank, or when the two banks are different voltages: Victron suggests DC-DC converters for feeding 12-volt gear from a higher-voltage system, and Boating Magazine lists models in 12-to-12, 12-to-24 and other versions. The trade-offs are cost, heat, and a charge rate limited to the charger's rating.
This is the big one. The same Navico expert says a plain ACR won't adequately charge a lithium iron phosphate (LiFePO4) house bank, and if the lithium battery's management system shuts the battery off while the alternator is pushing current into it, the sudden disconnect can damage the alternator. BoatUS adds that outboard alternators and regulators generally aren't made for lithium recharging, so a common layout keeps the engine on a lead-acid starting battery and charges the lithium bank through a DC-DC charger.
Also plan on a lithium-compatible shore charger: Boating Magazine notes the DC-DC charger alone usually won't bring the bank to full between trips. Our lithium conversion guide covers the rest of that project.
A rough guide to start the conversation with your technician:
- Small outboard boat, two lead-acid batteries: an ACR or a properly used 1-2-BOTH switch.
- Outboard with a lithium house or trolling bank: a DC-DC charger fed from the starting battery, plus a lithium shore charger.
- Inboard or sterndrive, lead-acid banks: an ACR, or a diode isolator only if the alternator senses voltage at the battery.
- Inboard with a big house bank and upgraded alternator: an ACR, or a DC-DC charger or lithium-capable external regulator for lithium. This is design territory.
- Trolling-motor bank: usually kept completely separate and charged by its own onboard charger, so it never pulls on the starting battery.
- Older small outboard and an AGM or gel second battery: check the engine manual first. Some older outboards have simple charging systems, and AGM, gel and lithium batteries each have charging-voltage limits set by their makers. If the engine's output doesn't fit, a DC-DC charger (which makes its own controlled charge) or a shore charger at the dock is the safer route.
With the engine off and no charger on, switch on a house load (cabin lights, stereo) for a while and measure both batteries. The house battery should drop and the starting battery should stay where it was. If both fall together, the batteries are still connected: an ACR stuck closed, a switch left on BOTH, or a wiring change someone made. Note it for your technician.
While you're in there, check without touching:
- Cables and lugs are tight, clean, not discolored, and every positive stud has a boot.
- Each cable to the device has a fuse near the battery, sized for that cable (Blue Sea summarizes ABYC's distance rules; most are within 7 inches of the battery).
- A diode isolator has open air around its fins; a DC-DC charger isn't buried in a sealed locker where it overheats.
- Nothing is mounted in a gasoline engine compartment unless it is rated ignition-protected for that space.
If you decide to change from a diode isolator to an ACR or DC-DC charger, or to add lithium, give the technician your photos, model numbers, alternator size and battery types. The cables, fuses, battery switch layout and charger settings all have to be redone together. BoatUS insurance data show batteries and engine-area DC wiring behind a large share of boat fires, so this is not a place to improvise.
Common mistakes
- Assuming the batteries are full because the engine ran all day, when a diode isolator without remote sensing has kept them about 0.7 volts short.
- Wiring an outboard's charging lead through a diode isolator.
- Charging a lithium house bank straight from the alternator through an ACR.
- Leaving the battery switch on BOTH all the time, which defeats the isolator and drains both batteries together.
- Connecting the shore charger to the unloaded battery so the ACR never closes on float.
- Mounting a diode isolator in a closed box with no airflow.
- Forgetting the fuses at the battery end of the new cables when adding a device.
When to call a pro
- Replacing or adding an isolator, ACR or DC-DC charger
- Any change involving a lithium battery
- Batteries that read low or high while the engine is running, after you've ruled out the battery itself
- A hot, swollen or discolored isolator or relay, or burned cable ends
- Upgrading the alternator or adding an external regulator
- Twin engines, multiple house banks or a mix of 12- and 24-volt systems
Tips
- Write the model of your isolator, ACR or DC-DC charger and its fuse sizes in your boat profile so a technician can help you over the phone.
- An ACR's status LED (if it has one) is a quick way to see whether it closes when the engine is running.
- When you shop, look for marine-rated, ignition-protected units from established marine electrical makers, and read the installation manual before you buy, since it lists the cable and fuse sizes you'll need.
Official references
We read these to write this guide. Your engine's own manual always wins.
- Blue Sea Systems – Battery Isolators and Automatic Charging Relays
- Boating Magazine – The Basics of DC-to-DC Marine Battery Chargers
- BoatUS – The Latest On Lithium Batteries
- Victron Energy – Wiring Unlimited, DC Wiring (DC-DC converters and cable sizing)
- Blue Sea Systems – DC Main Overcurrent Protection Requirements
- BoatUS – Analyzing Electrical Fires on Boats
- ProMariner – Galvanic Isolators, Battery Isolators and Combiners
- Blue Sea Systems – Preventing Cycling in Battery Combiners, Voltage Sensitive Relays and ACRs
- Blue Sea Systems – Overcoming Dropout of House Electronics during Engine Starting
- Victron Energy – Argofet Battery Isolators
Safety: BoatMend is for information only and does not replace a certified marine technician. You are responsible for your safety and your boat. Read the full disclaimer.
Last updated 2026-10-25
Related guides
How to Use a 1-2-Both Battery Switch and Run Two Batteries
Learn what the 1, 2, Both and Off positions really do, a simple routine that keeps one battery ready to start the engine, how to check that both batteries are charging, and when an automatic charging relay makes life easier. Rewiring high-current cables is a job for a marine electrician.
Is My Engine Charging the Battery? Test the Charging System With a Multimeter
A step-by-step way to find out whether your outboard's stator and rectifier/regulator or your inboard's alternator is really charging the battery, what the voltage readings usually mean, and when the problem is just a dirty connection. Exact test specs come from your engine's service manual.
Switching to Lithium (LiFePO4) Boat Batteries: What Changes and When It's Worth It
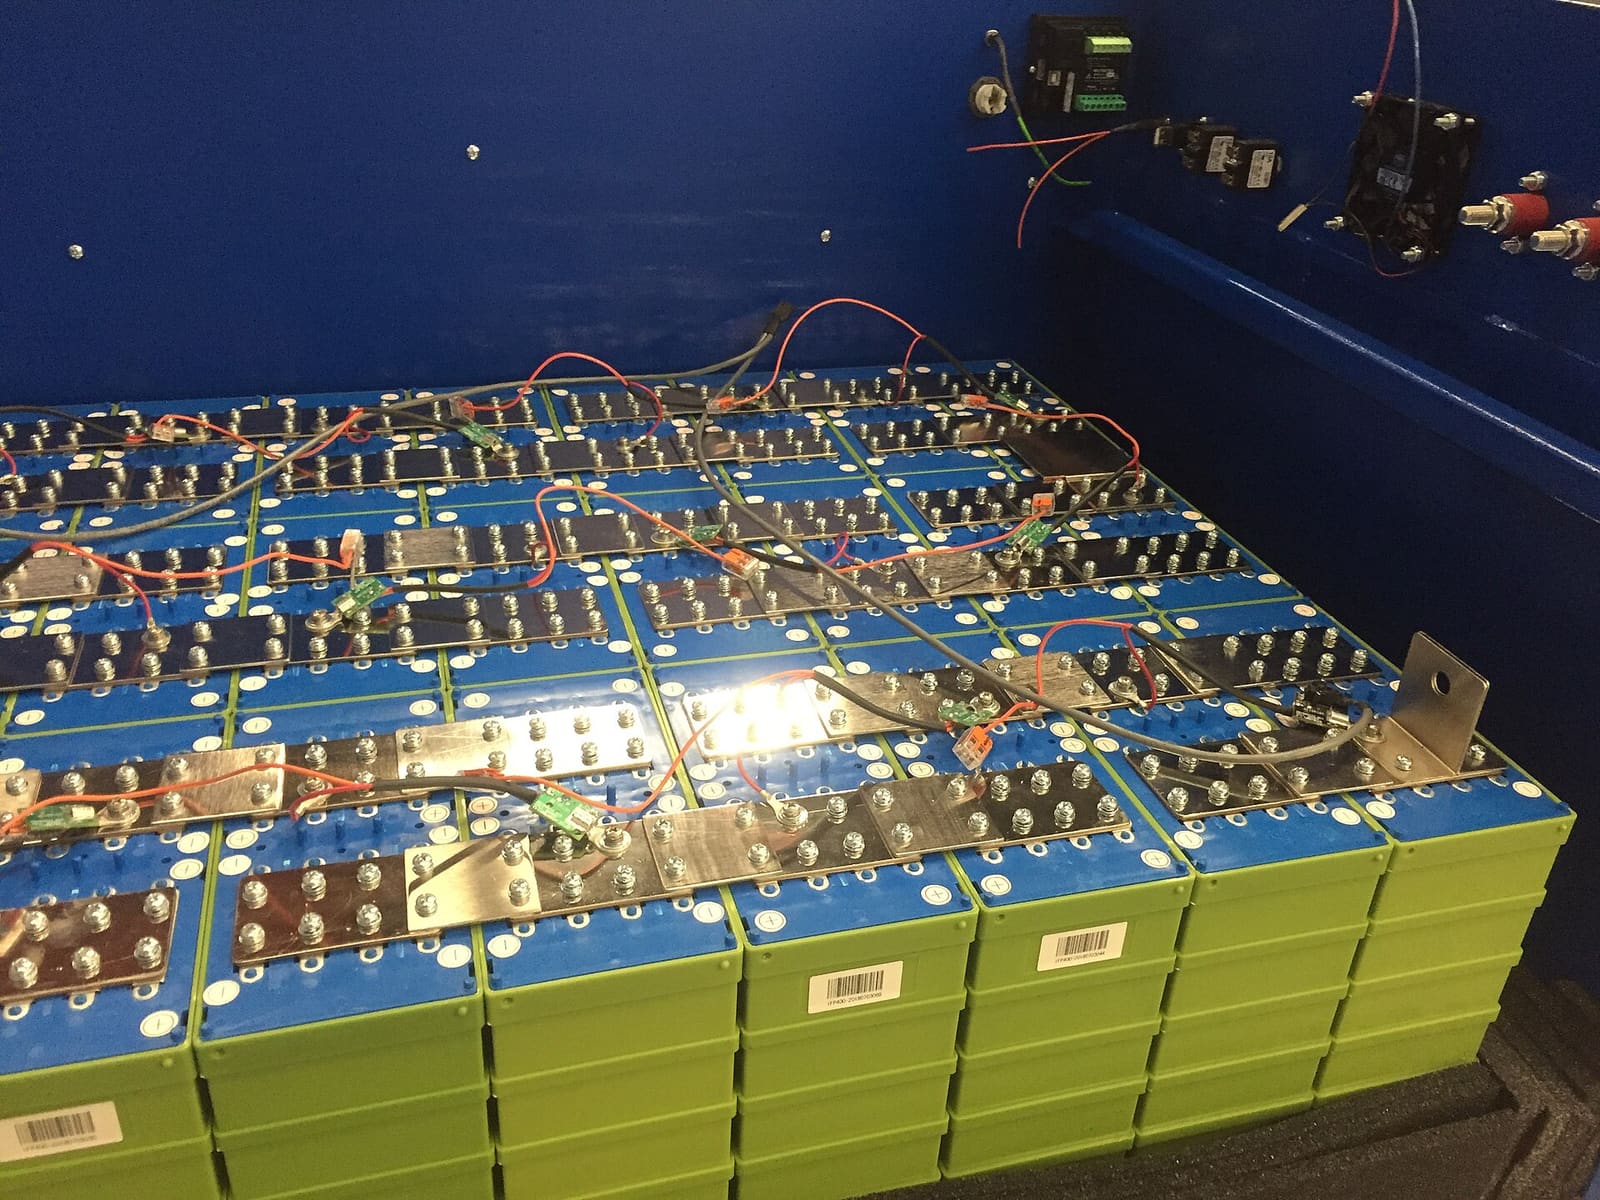
What really changes when you swap lead-acid for lithium iron phosphate (LiFePO4) batteries on a boat: the battery management system, charger settings, protecting the alternator with a DC-DC charger, not mixing chemistries, cold-weather charging, and which jobs (trolling, house, starting) suit lithium. House-bank conversions should be designed and installed by a qualified marine electrician.
Marine Battery Care: Test, Charge and Store for Winter
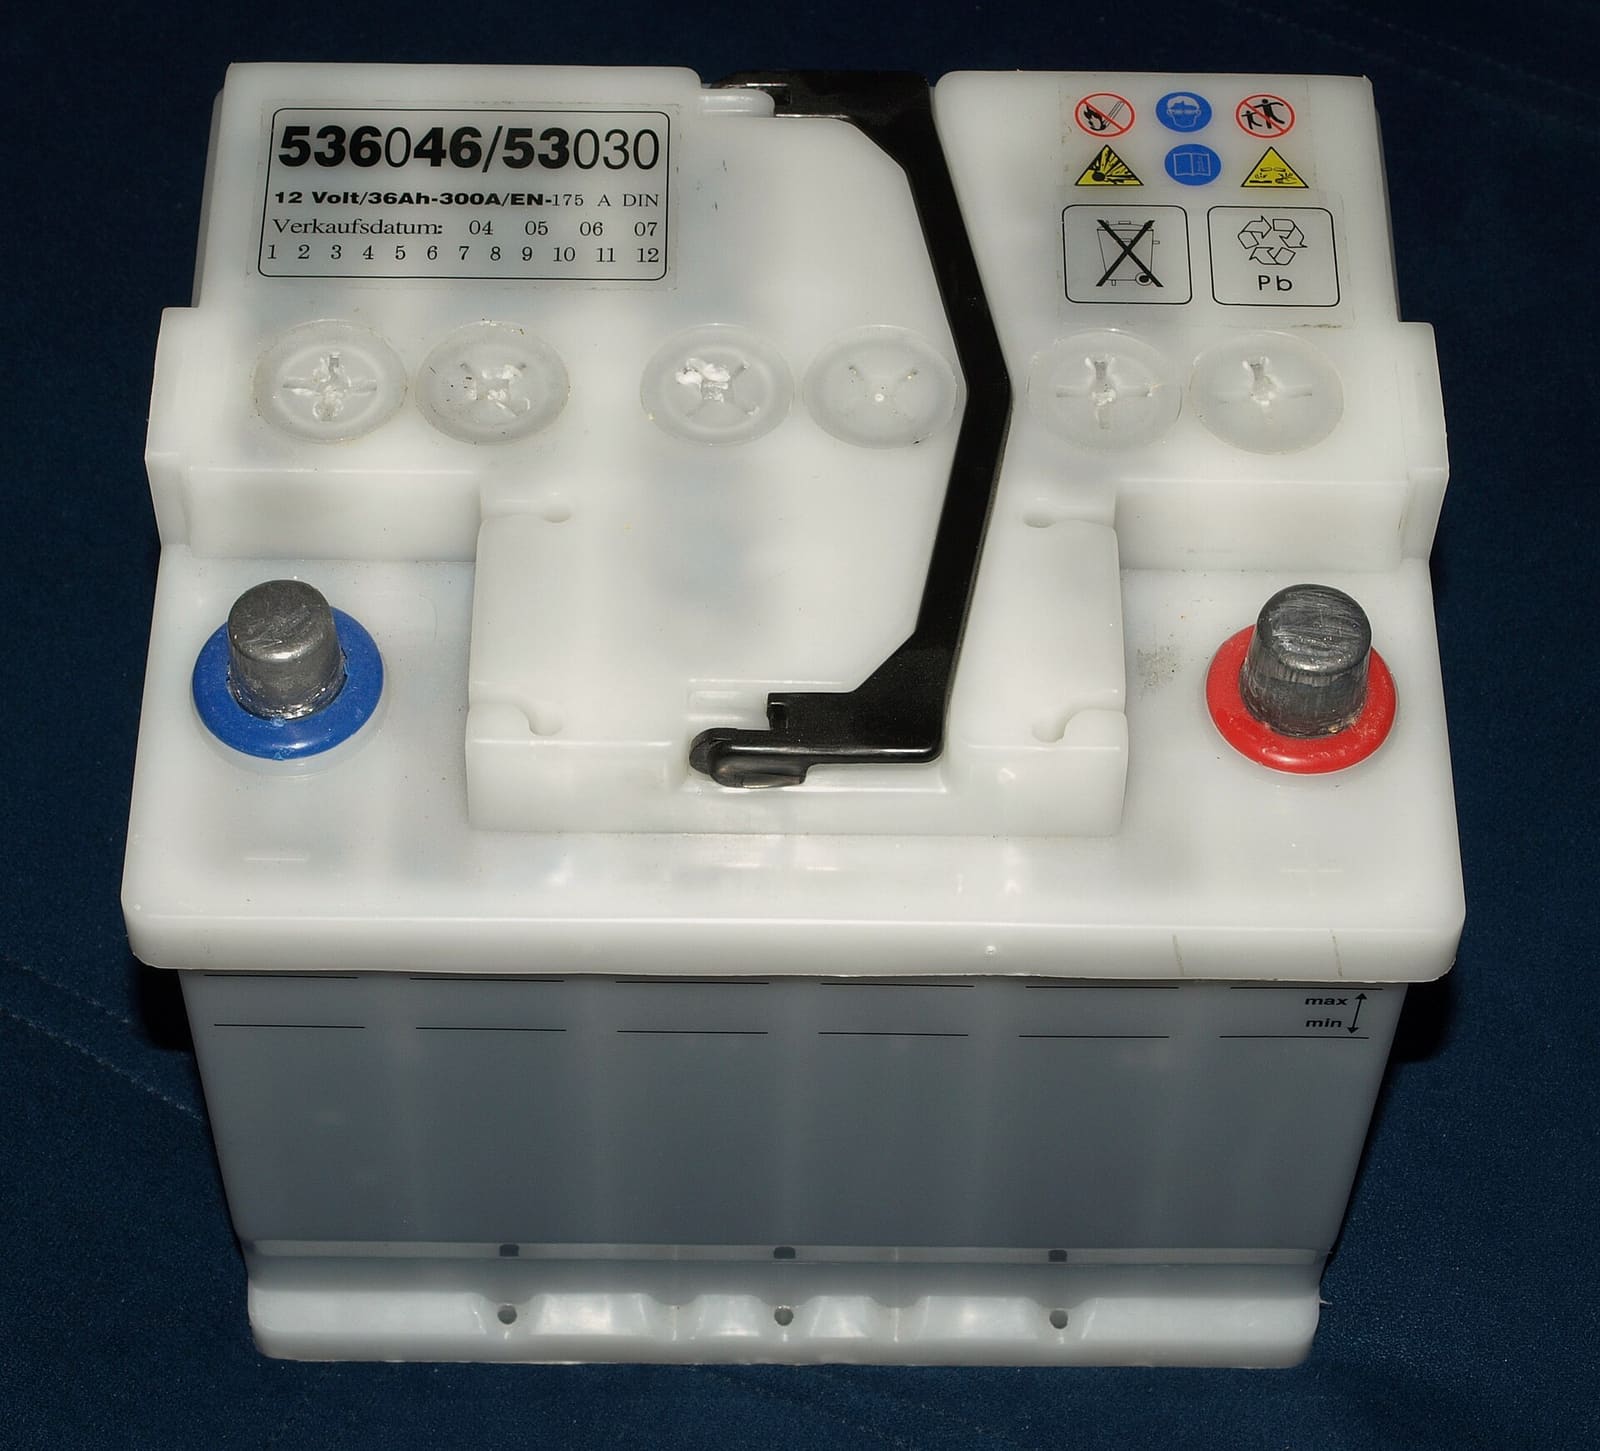
Check your boat battery's health, charge it the right way for its type (flooded, AGM or lithium), and store it so it is ready in spring. Most "boat won't start" calls start with a neglected battery.
How to Choose, Install and Maintain an Onboard Battery Charger
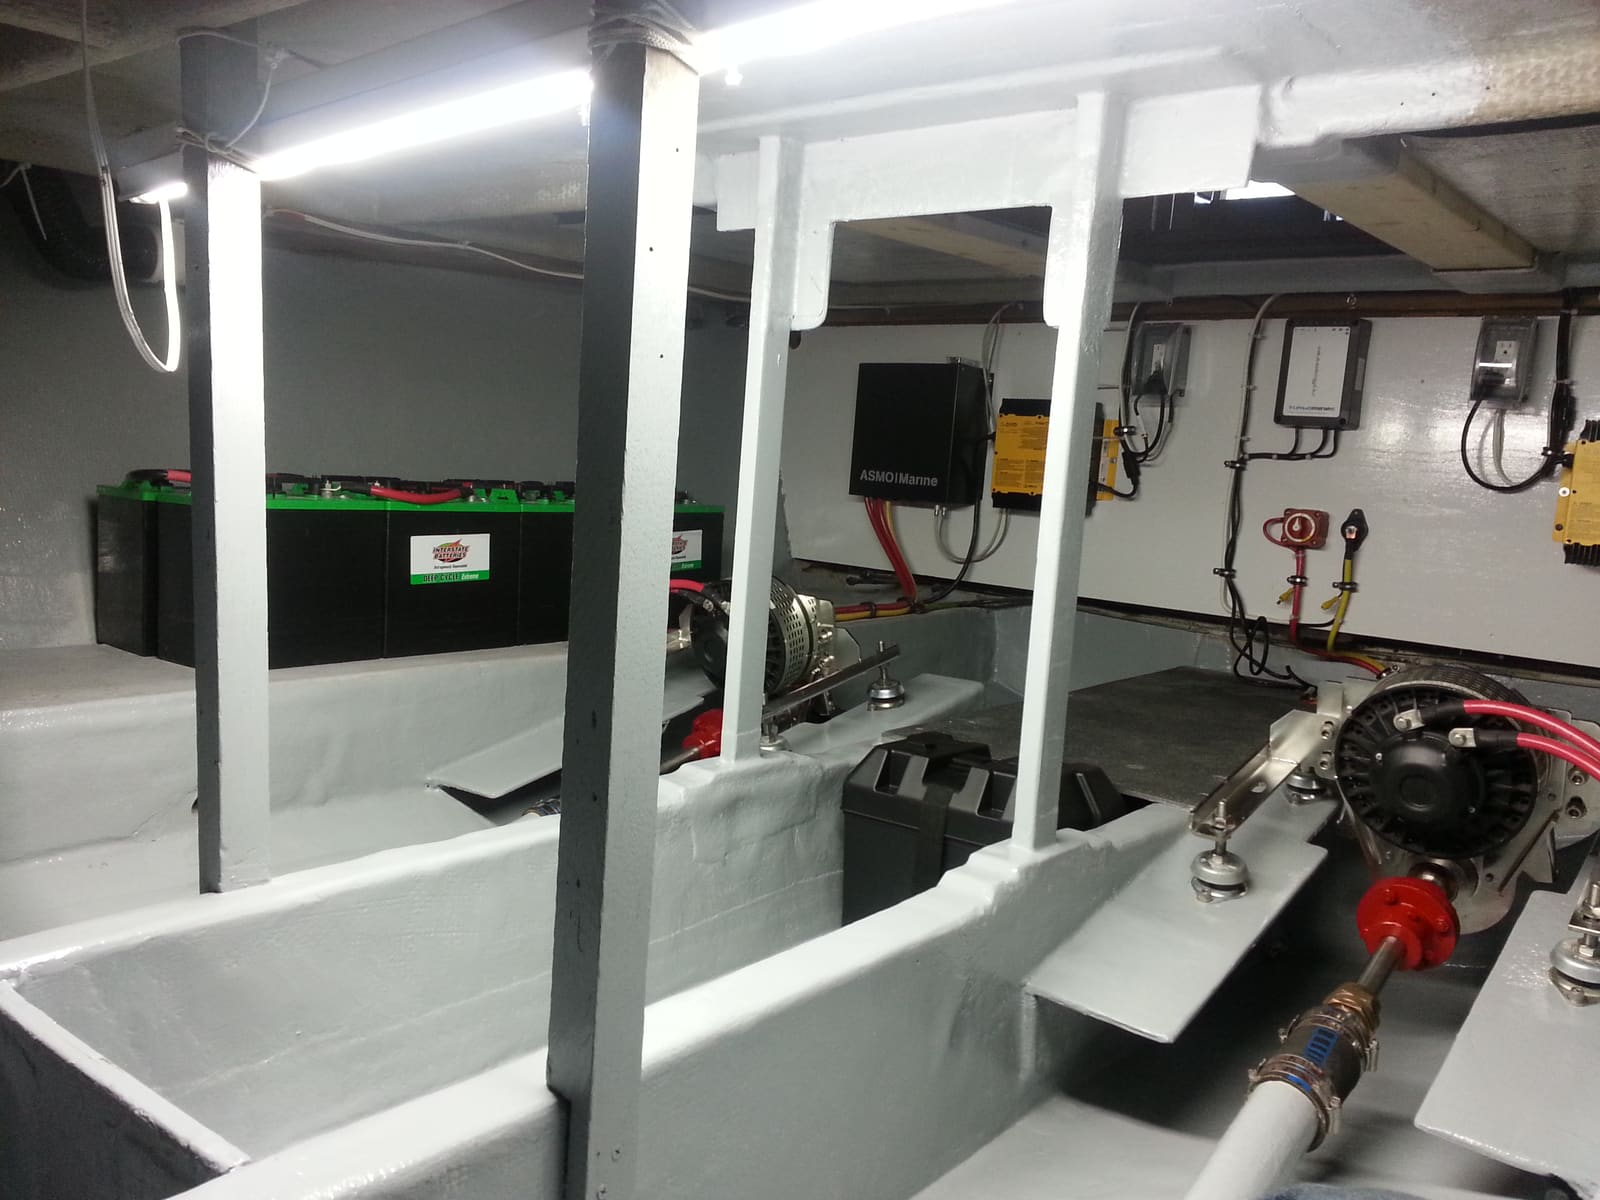
Pick the right marine charger for your batteries (how many banks, how many amps, flooded, AGM or lithium), mount and fuse it safely, set the charge profile, and use it to keep batteries healthy all season and through the winter. The AC (shore power) side is a job for a marine electrician.
How to Replace Boat Battery Cables the Right Way
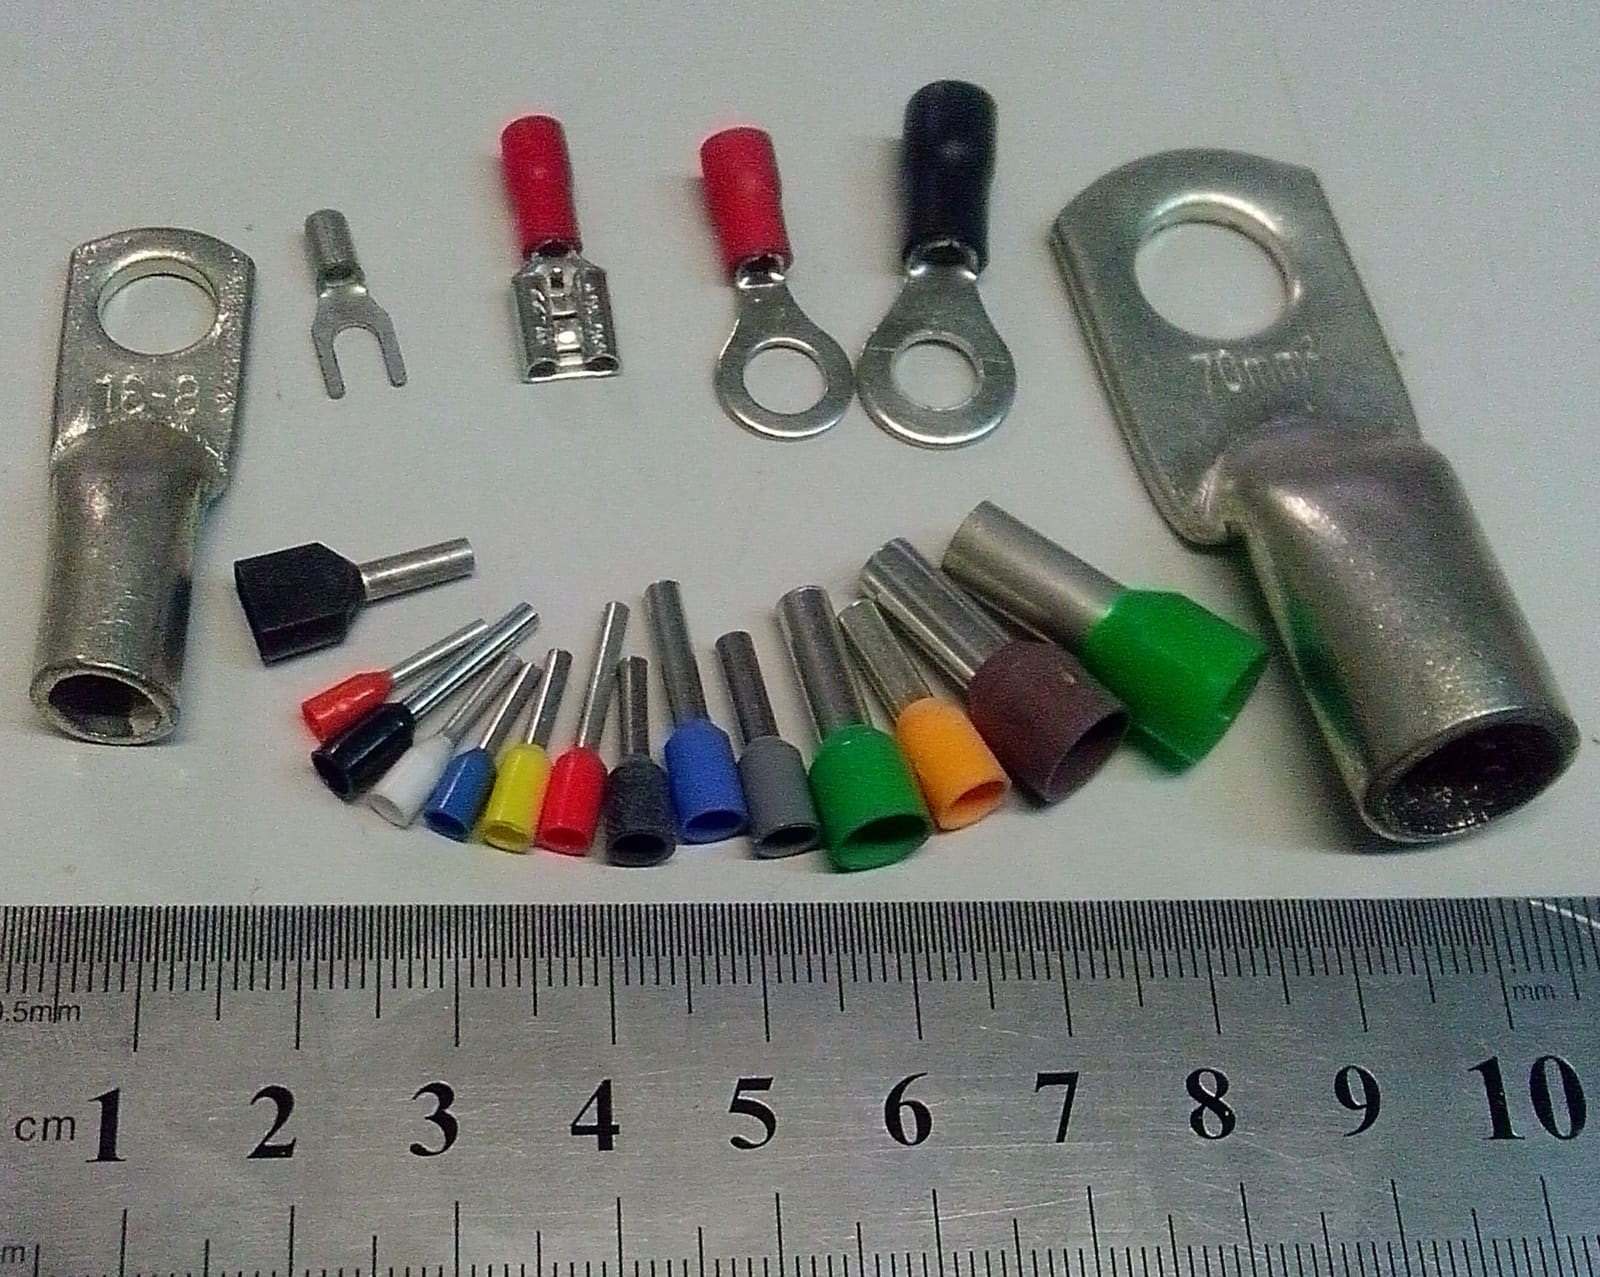
Swap corroded, cracked or undersized battery cables for tinned marine cable sized from a chart for its real length and load, with crimped lugs, adhesive heat shrink, terminal boots, solid support and a fuse close to the battery.
How to Wire a 12, 24 or 36-Volt Trolling Motor and Charge Its Batteries
Set up the battery bank for your electric trolling motor the right way: matched deep-cycle batteries in series or parallel, a circuit breaker sized from the motor maker's chart, a proper plug, and a multi-bank charger that keeps every battery healthy. High-current wiring that runs long distances or ties into other systems is a job for a marine electrician.
Battery Goes Dead While the Boat Sits - How to Find a Parasitic Drain
If your boat battery is flat every time you come back, something may be quietly drawing power while you are away. Learn how to tell a bad battery from a drain, find the circuit with a multimeter and the fuse panel, and fix the usual culprits without disabling your bilge pump.
12-Volt Boat Wiring Basics: Circuits, Color Codes, Fuses and Wire Size
Learn how your boat's 12-volt system is laid out, what the ABYC wire colors mean, how fuses and breakers protect the wiring, why voltage drop and tinned wire matter, and how to read a wiring diagram, so you can troubleshoot smarter and know which jobs belong to a marine electrician.