How to Flush an Engine While the Boat Stays in the Water
Boats kept in a saltwater slip, on a mooring or on a lift can't always use flush muffs. Learn how built-in outboard flush ports, sterndrive and inboard flush kits and flush-valve seacocks work, which engines can use them in the water, how to avoid back-flow and hydrolock, and a simple after-every-trip routine.
Time
30 min
Shop would charge
$150-600
Applies to
Outboard, Sterndrive (I/O), Gas inboard
Safety first: Never run any engine without a cooling water supply, even for a few seconds; it can ruin the water pump impeller. An outboard may run out of the water only on external flush muffs or in a test tank; its built-in flush port is used with the engine off unless your owner's manual says otherwise. Inboards and sterndrives never run dry. If an inboard flush ever leaves you with a seacock you can't close, water rising in the bilge or an engine that won't turn over after flushing, stop: close what you can, call a marine mechanic, and if water is coming in, call TowBoatUS, Sea Tow or the Coast Guard on VHF 16 (or 911).
Owners often ask
- My boat stays in a saltwater slip. How do I flush the engine without pulling it out?
- Do I run the engine when I flush through the hose fitting on my outboard?
This guide walks you through it. Still stuck? Ask the AI Mechanic about your engine.
Tools
- Garden hose long enough to reach the engine from the dock spigot
- Hose-thread vacuum breaker (backflow preventer) for the dock spigot
- Flush adapter for your outboard's built-in port (if it isn't a plain hose fitting)
- Engine-specific flush kit or flush valve (sterndrives and inboards)
- A bright tag or clip to hang on the seacock handle
- Flashlight
Parts & supplies
- Salt neutralizer flush product (optional; only one your engine maker allows)
- Replacement O-ring or cap for the flush fitting (if cracked or missing)
Before you start
Why bother. Mercury recommends flushing with fresh water after each saltwater use for the best corrosion protection, and after brackish, polluted or very silty water too. Yamaha explains why: salt, sand, silt and marine growth build up in cooling passages, wear the water pump and restrict cooling. A boat that lives in the water usually gets flushed least, because muffs don't work with the drive submerged. In-water flush systems fix that.
Which system fits your boat:
- Outboards with a built-in flush port. A garden hose fitting on the lower cowl or the midsection. Mercury says most late-model Mercury outboards from 70 to 400 hp have its "Flush Connect" fitting and can be flushed on a trailer or in the water. Yamaha says the built-in port works with the boat on a lift or in the water, best with the engine trimmed up so the gearcase is out of the water, and tells you not to run the engine during this procedure. BoatUS notes Honda's larger outboards (60 hp and up) also use the factory port with the engine off. Suzuki's FAQ says most of its outboards have a freshwater flush port (it lists the DF2.5, 9.9, 15, 40 and 50 as exceptions), some larger models have two, and it warns never to start the engine out of the water on that built-in flush adapter; running out of the water calls for external muffs.
- Outboards with flush bags made for moored boats. Yamaha mentions bag designs for boats on a mooring. A bag surrounds the gearcase like a small test tank, so the engine runs, but only after the bag is full of water.
- Sterndrives (MerCruiser and others). Mercury's FAQ says it offers flush kits for 1988 and newer MerCruiser engines, and that kits for Bravo sterndrives, inboards and towsport engines can be used with the boat in or out of the water. The attachment for Alpha drives can only be used out of the water. And: in all applications, the engine must be running when using a flush kit. Other sterndrive brands have their own rules; check your manual.
- Inboards with a flush valve at the intake. For example, Forespar sells a seacock with a Y-valve and a garden hose connection. You turn the handle from "sea" to "hose," and the engine draws fresh water through the same intake hose. Aftermarket tees and valves that fit between the seacock or strainer and the raw-water pump work the same way. Boating Magazine notes that Perko, Groco and others make permanent flushing valves of this kind, so you can attach a hose without tools; on a through-hull intake, the alternative is disconnecting the intake hose inside the boat every time.
Closed-cooled engines. On engines with a heat exchanger (fresh water and antifreeze inside the block), flushing cleans only the raw-water side: pump, heat exchanger, coolers, risers and exhaust. That's still where salt does its damage.
Steps
Every brand, and sometimes every model, does this differently. BoatUS's brand-by-brand roundup shows big variations: some ports are engine-off only, some smaller four-strokes run during port flushing, some makers set water pressure limits. Mercury's articles repeat the same advice: consult your manual for your engine's flush fitting location and procedure. Write down three things: engine on or off, in or out of the water, and any pressure limit.
Screw a hose-thread vacuum breaker (backflow preventer) onto the dock spigot before the hose. It stops salt water, fuel or flush chemicals from being drawn back into the marina's drinking water if pressure drops. Many marinas require one.
With the engine off:
- Trim or tilt the motor up so the gearcase is out of the water, if your manual allows flushing tilted (Yamaha says it works best that way).
- Remove the port's cap or plug and thread the hose or adapter on gently. BoatUS warns that many ports are plastic and are easily ruined by cross-threading a brass hose fitting.
- Turn the water on. Let it flow for the time your manual gives. BoatUS mentions about 10 minutes as typical; a Mercury pro suggests at least 15 minutes after saltwater use.
- Turn the water off, remove the hose and replace the cap.
- Return the motor to vertical so the powerhead drains, then trim it up for storage.
Yamaha says its testing found the flush attachment method does push water through the cylinder head passages even with the thermostat closed, so there's no penalty for flushing engine-off.
If you use a bag made for moored boats, install it per its instructions, fill it with fresh water from the hose, and keep the hose running. Only then start the engine and let it idle in neutral, watching the telltale. BoatUS says to keep flush-bag and muff runs to a fast idle in neutral (no more than about 1,000 rpm). Shut the engine off before turning off the water.
Find where your kit joins the raw-water circuit. Most in-water kits and valves feed fresh water into the intake side, upstream of the raw-water pump, while the seacock or drive intake is closed or bypassed, so the running pump draws hose water instead of seawater. That's why the engine has to run: the pump moves the water through the engine and out the exhaust. Confirm your kit is approved for in-water use on your drive. Remember Mercury's rule: Alpha attachments are out of the water only.
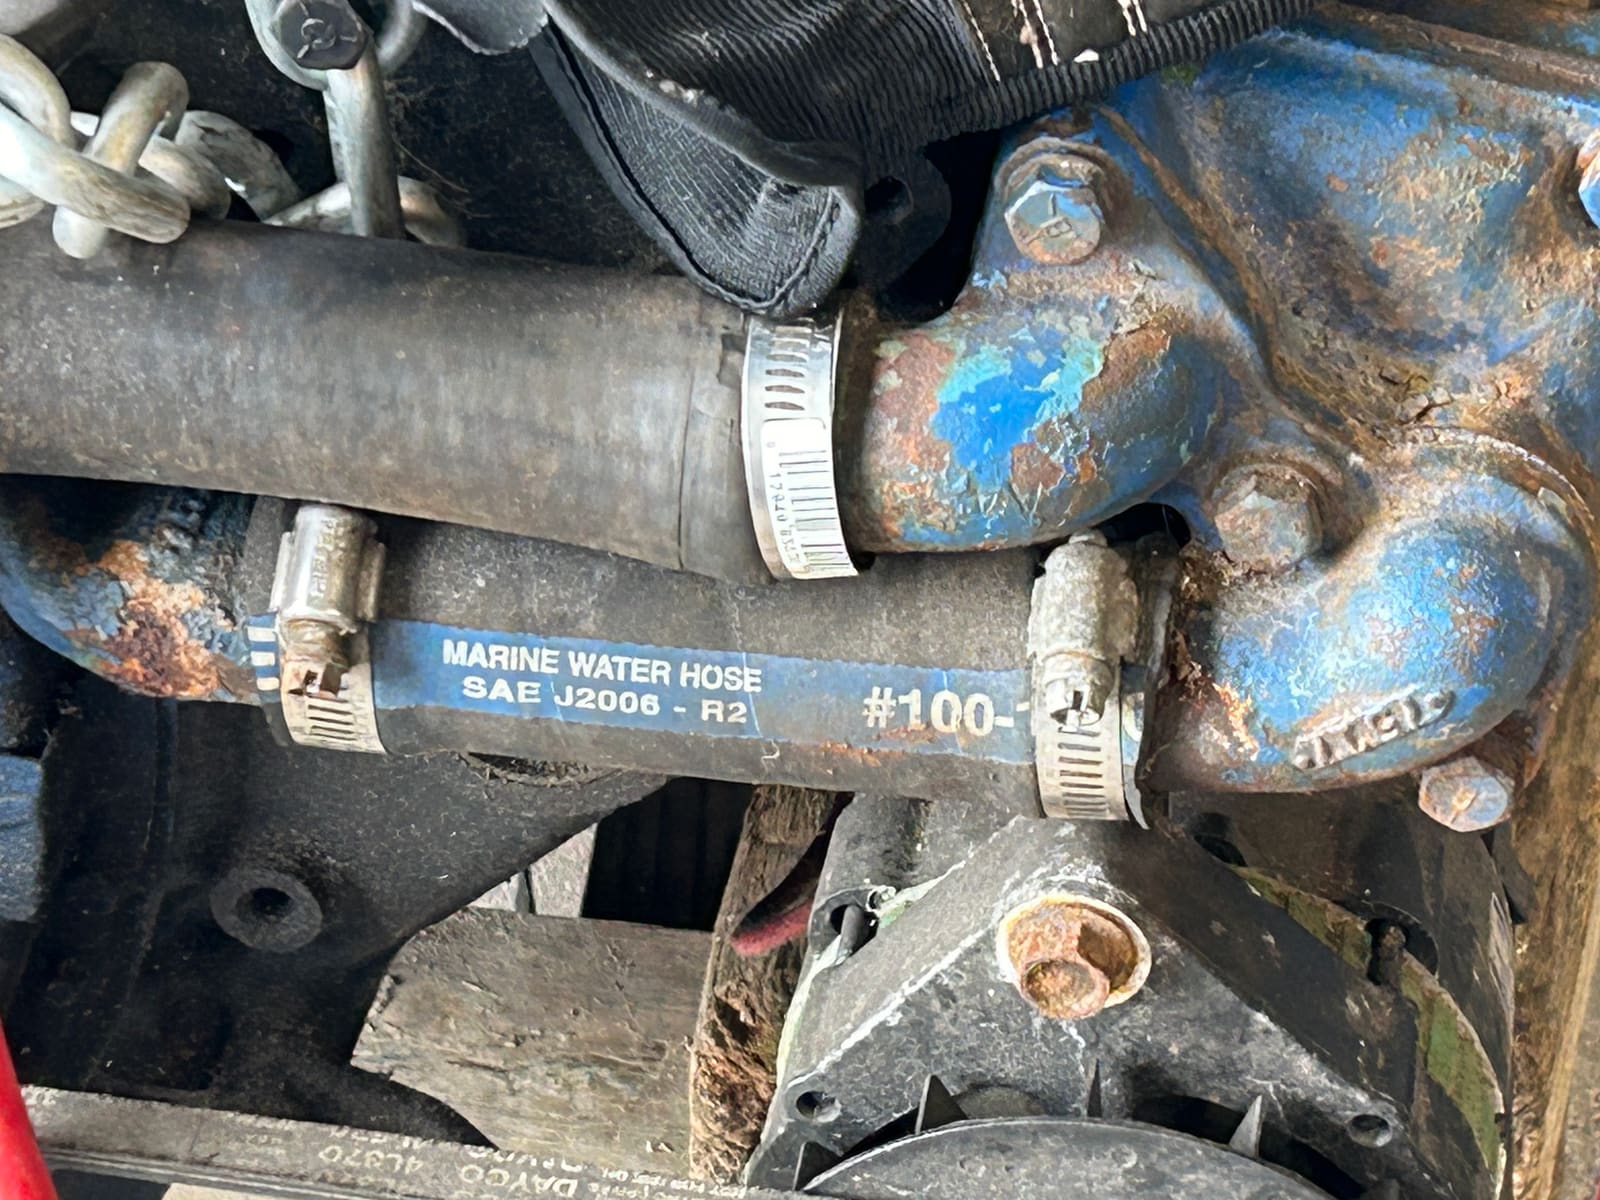
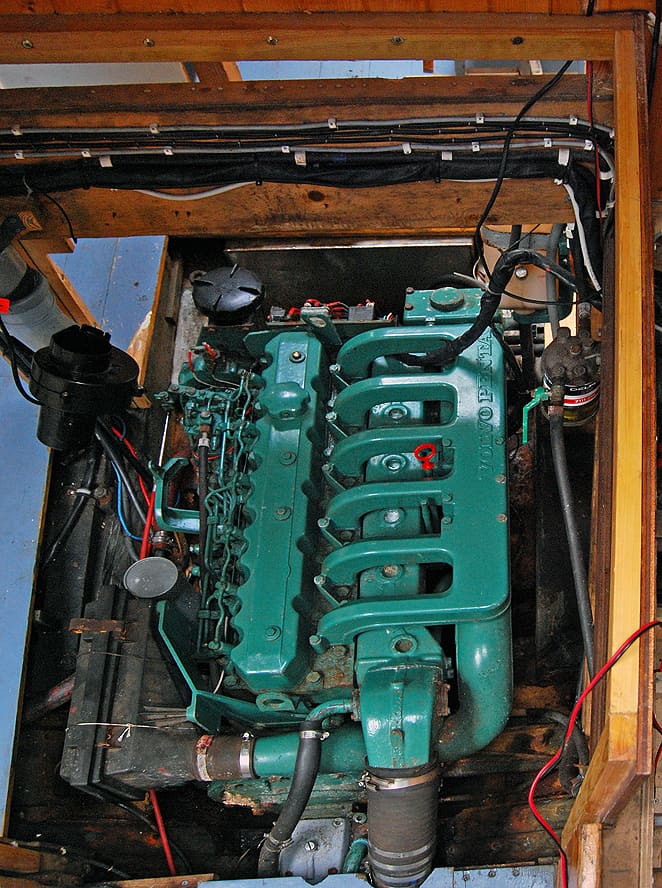
In-water flush kits tie into the raw-water hoses that feed the engine's pump. Check every hose and clamp on the circuit while you're there. Photo: TruckMatt / Wikimedia Commons · CC BY 4.0 Follow your kit's instructions. A typical sequence looks like this:
- Connect the hose to the flush fitting. Make sure the connection is tight; a loose one lets the pump suck air.
- Switch the valve to "hose," or close the seacock as your kit directs. Hang a bright tag on the seacock handle as a reminder.
- Turn the water on, then start the engine right away and let it idle in neutral. Watch for steady water from the exhaust or telltale and keep an eye on the temperature gauge. Boating Magazine's rule of thumb: if no water comes out within about a minute, shut down and look for a blockage or a valve in the wrong position.
- Flush for the time your kit or manual gives. Don't rev the engine: at higher rpm the pump can want more water than a garden hose supplies.
- Shut the engine off and turn the hose off immediately.
- Switch the valve back to "sea" or open the seacock, and remove the tag only when it's open.
Three ways an in-water flush can go wrong:
- Hose water with the engine off (inboards and sterndrives). If hose pressure keeps pushing water through a stopped engine, it can fill the exhaust and back up toward the cylinders. That's the same hydrolock damage a failed vented loop causes. Water on only while the engine runs.
- Hose water escaping out the intake. If the seacock or valve isn't closed or switched, hose water can just run out to sea and the engine keeps drawing salt water. Watch for the exhaust water to change, or check that the flush valve is fully in the "hose" position.
- Air in the line. A loose hose fitting can let the pump suck air instead of water. Rubber impellers don't tolerate running dry, so fix leaks before you start.
Products that dissolve salt deposits are usually added through a mixing unit on the hose or a small reservoir in the flush line. Use one only if your engine maker allows it, follow the product's dilution instructions, and flush with fresh water afterward unless the product says otherwise. Never pour chemicals into the cooling system that aren't made for it.
After flushing, rinse salt off the engine and drive with a gentle stream. Mercury's tips: rinse the cowl, bracket and trim ram area; lower the outboard to vertical before rinsing the cowl, because water can get into the air intake when it's tilted; don't use high pressure or a spray nozzle near electrical connections. Let it dry, then apply a corrosion inhibitor if you use one.
Work any flush valve or seacock through its full travel so it doesn't seize from salt. Inspect the flush port cap and O-ring, the hose barbs and clamps on the kit, and look for drips. Clean the raw-water strainer while you're there (see our raw-water strainer guide).
After every saltwater trip: flush, rinse, check the seacock is open. Log it in BoatMend so you can see the pattern. Don't forget other raw-water systems aboard: a generator and air conditioning have their own intakes and their own flushing instructions.
Common mistakes
- Running an outboard on its built-in flush port when the manual says engine off.
- Starting a sterndrive or inboard with the flush valve set to "hose" and no water turned on.
- Leaving the garden hose running after the inboard is shut down.
- Forgetting to reopen the seacock, then overheating on the next trip. Use a tag every time.
- Using an Alpha flush attachment with the boat in the water (Mercury says out of the water only).
- Cross-threading a brass hose fitting into a plastic flush port.
- Rinsing a tilted outboard's cowl and getting water in the air intake.
- Revving the engine during a flush.
When to call a pro
- Choosing and installing a flush kit or flush-valve seacock (below-waterline plumbing must be done right)
- The engine overheats, or the exhaust water looks weak, during a flush
- An inboard cranks hard or won't turn over after flushing (possible water in a cylinder; don't keep cranking)
- A seacock or flush valve is stuck, cracked or weeping
- Water in the bilge that you can't trace after a flush (stop and call; if it's rising, call for help on VHF 16)
Tips
- Leave the hose coiled at the slip with the vacuum breaker and adapter attached, so flushing takes two minutes.
- Mark the seacock handle positions with paint: one color for open, one for closed.
- If your outboard has no port, a flush bag made for moored boats may be the only in-water option; check that it fits your gearcase.
- On a lift, an outboard can usually be trimmed down into a bag or onto muffs; check your lift's clearance.
Official references
We read these to write this guide. Your engine's own manual always wins.
- Mercury Marine – Service and Support FAQs (MerCruiser flush kits in or out of the water; flushing after saltwater use)
- Mercury Marine Dockline – Mercury Flush Connect, The Easy Way to Fight Corrosion
- Mercury Marine Dockline – 5 Tips for Cleaning a Freshwater Boat Used in Saltwater
- Yamaha Outboards – Freshwater Flushing Adds Years to the Life of an Outboard
- BoatUS – Outboard Flushing The Right Way (brand-by-brand methods)
- Suzuki Marine – FAQs (flush ports by model; never start out of the water on the built-in flush adapter)
- Forespar – Engine Flush Out (seacock and Y-valve flush system for inboards)
- Boating Magazine – How to Run Inboard, Outboard and Sterndrive Engines on Land (flushing tips)
Safety: BoatMend is for information only and does not replace a certified marine technician. You are responsible for your safety and your boat. Read the full disclaimer.
Last updated 2026-10-25
Related guides
How to Flush Your Engine With Fresh Water
Rinse salt, silt and sand out of your outboard or sterndrive cooling system using the built-in flush port, flush muffs or a flush bag. Flushing after every saltwater trip is one of the easiest ways to prevent corrosion and overheating.
Saltwater Outboard Care: The After-Every-Trip and Monthly Routine
A simple routine that keeps salt from eating your outboard, built from Honda, Yamaha, Mercury and Suzuki advice. It covers flushing after every trip, washing, where to spray anticorrosion (and where never to), monthly greasing, anodes, and tilting up or storing out of the water.
How to Inspect and Exercise Seacocks, Through-Hulls and Hose Clamps
Check every hole in your hull below the waterline, work each seacock open and closed, and inspect the hoses and clamps attached to them. A single failed fitting or hose is one of the most common reasons boats sink at the dock.
How to Inspect and Clean a Raw-Water (Sea) Strainer
The sea strainer is the cheap screen that keeps weeds, shells and plastic out of your engine, generator and A/C pumps. Learn how to clean it safely with the seacock closed, reseal the lid so it can't suck air, spot a cracked bowl before it floods the boat, and winterize it.
How to Replace the Water Pump Impeller
Replace the rubber impeller that pumps cooling water through your engine, the part most often behind overheating. On many outboards it is a two-hour driveway job that saves a shop bill of several hundred dollars and prevents far costlier heat damage.
Engine Overheating - Troubleshooting Guide
Work through the most likely causes of a hot engine or overheat alarm, from a blocked water intake to a worn impeller or stuck thermostat. Acting fast and in the right order can save your engine and often gets you home without a tow.
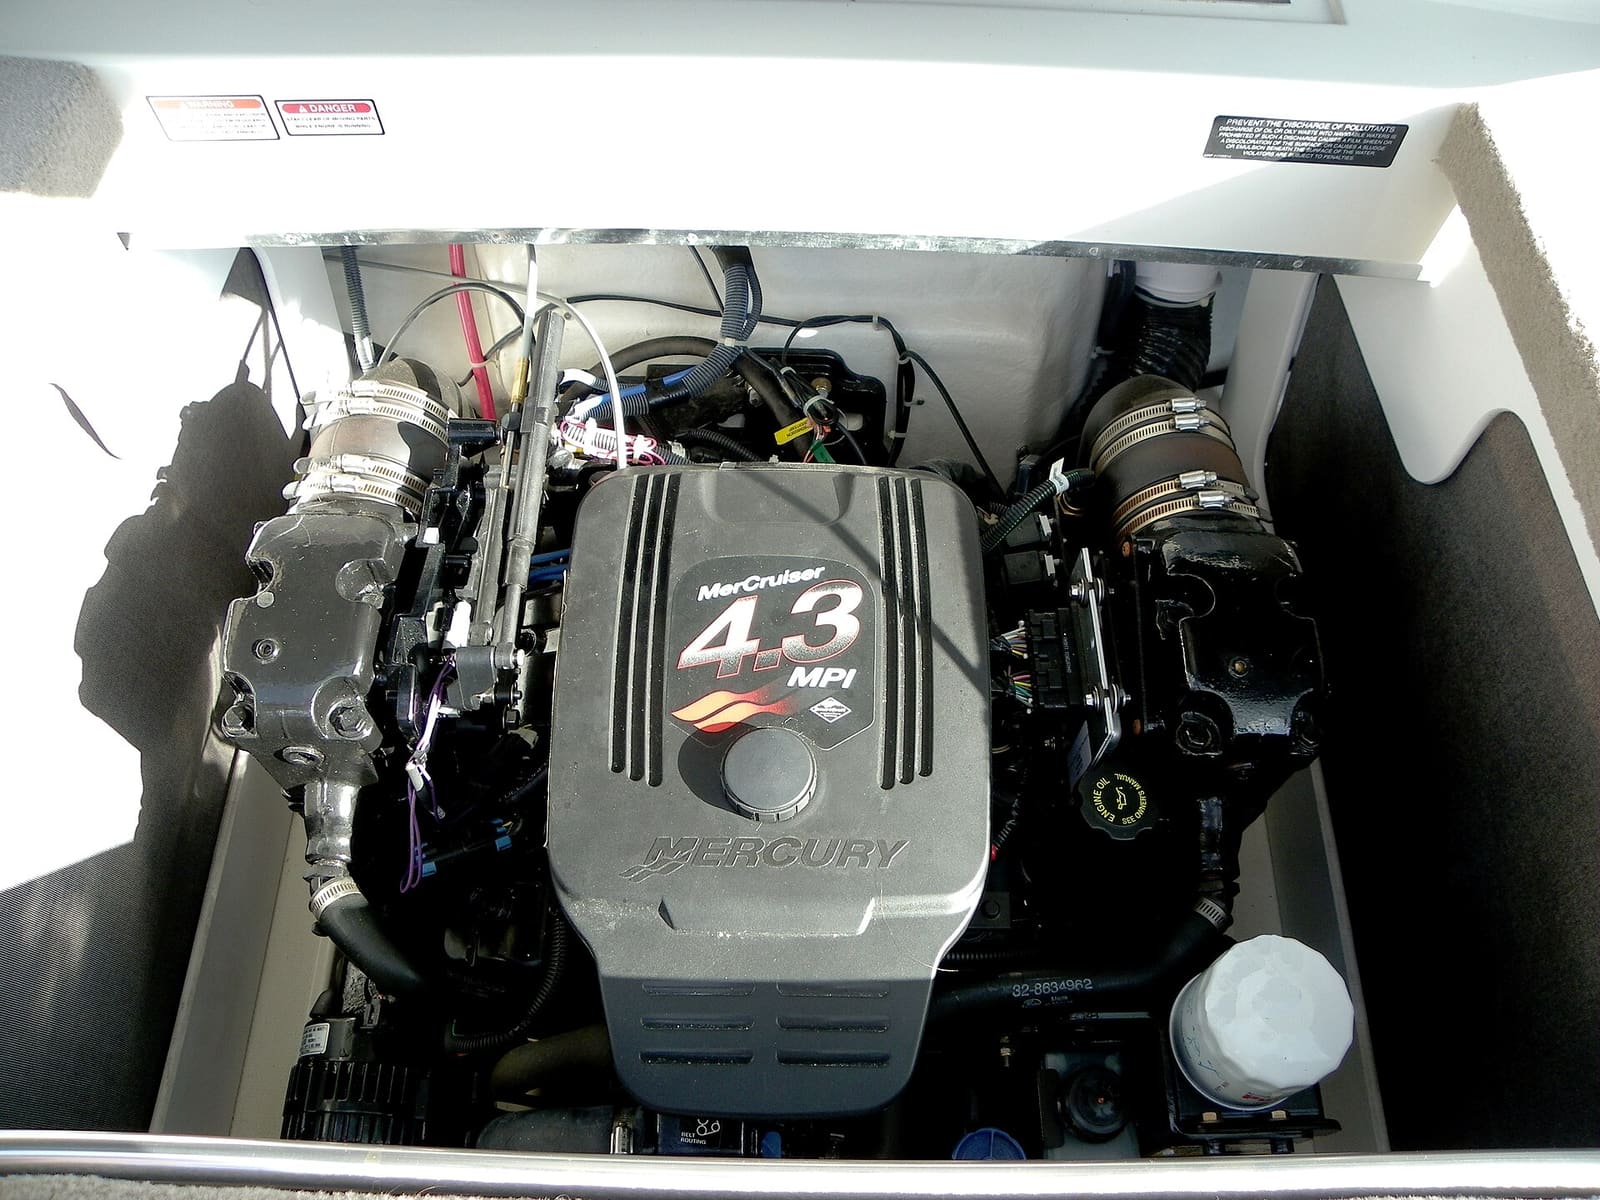
How to Inspect Exhaust Manifolds and Risers on a Sterndrive or Inboard
Cast-iron exhaust manifolds and risers rust from the inside, and when they fail they can let water into the cylinders and ruin the engine. Learn the warning signs, how often to inspect them in salt and fresh water, how to check a riser yourself, and when replacement is a job for a pro.
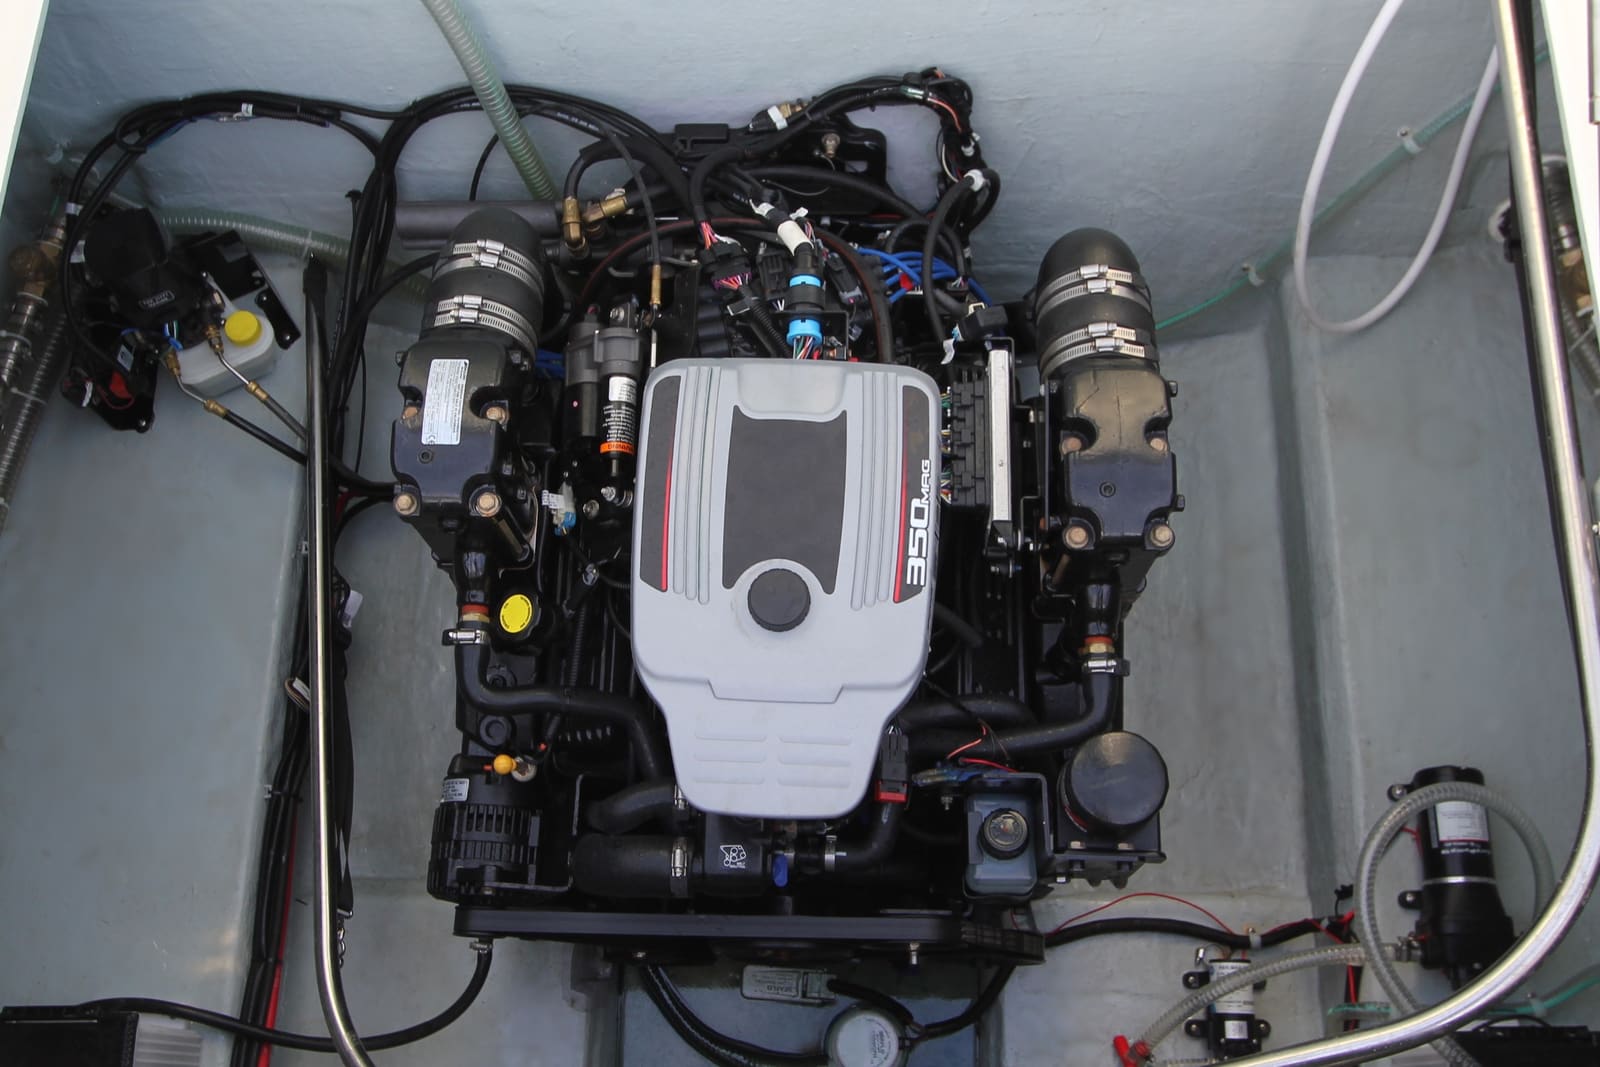
Closed-Cooled Gas Engines: Why the Exhaust Elbows Still Need Checking
Closed (freshwater) cooling protects the block, but on gas sterndrives and inboards the exhaust elbows or risers, and on some systems the manifolds, are still cooled by raw water. Learn which parts still see salt or lake water, the warning signs, what the engine makers and BoatUS say about intervals, and how to inspect and look after them.
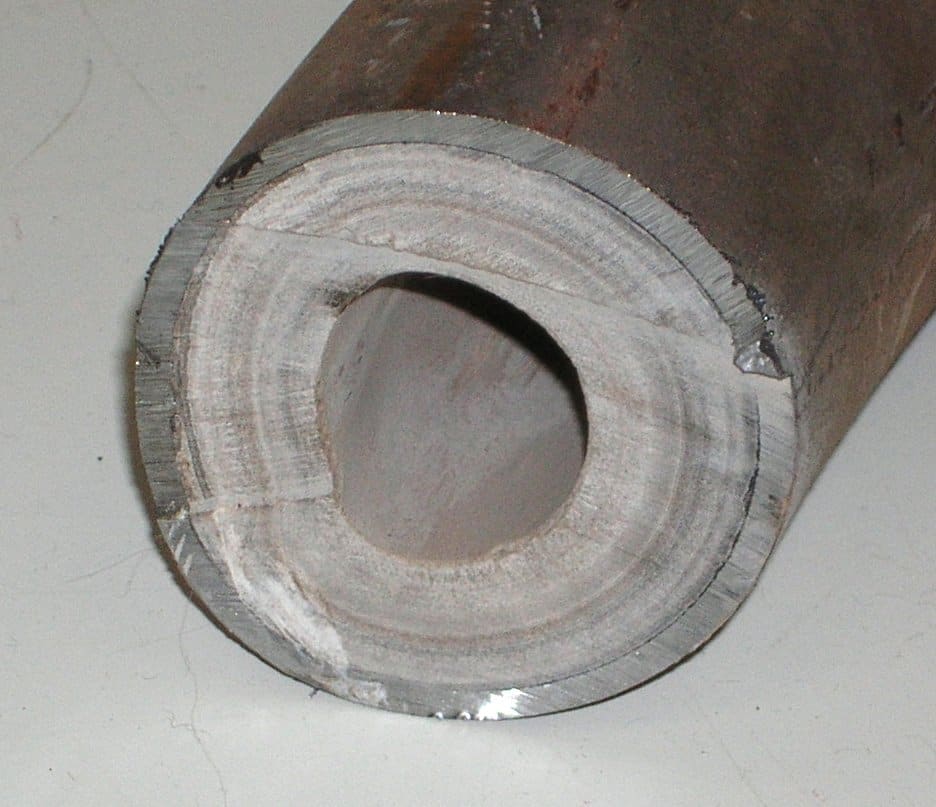
Salt and Scale in Raw-Water Cooling: Flushing Habits, Descaling and When It's a Shop Job
Learn how salt and scale slowly narrow your engine's cooling passages, how to spot the warning signs (a temperature that creeps up over seasons, a weak telltale, thermostats sticking), the flushing habits that prevent it, which descaling products and methods engine makers accept, what never to pour through an engine, and when to hand the job to a shop.
Sterndrive Corrosion: Paint Blisters, Anodes, MerCathode and Galvanic Isolators
Learn to spot the early signs of corrosion on an aluminum sterndrive, check the anodes and the MerCathode or Volvo Penta ACP system, and understand when a galvanic isolator or a hull potential test is needed. Caught early, corrosion costs a few anodes; caught late, it can cost the whole drive.
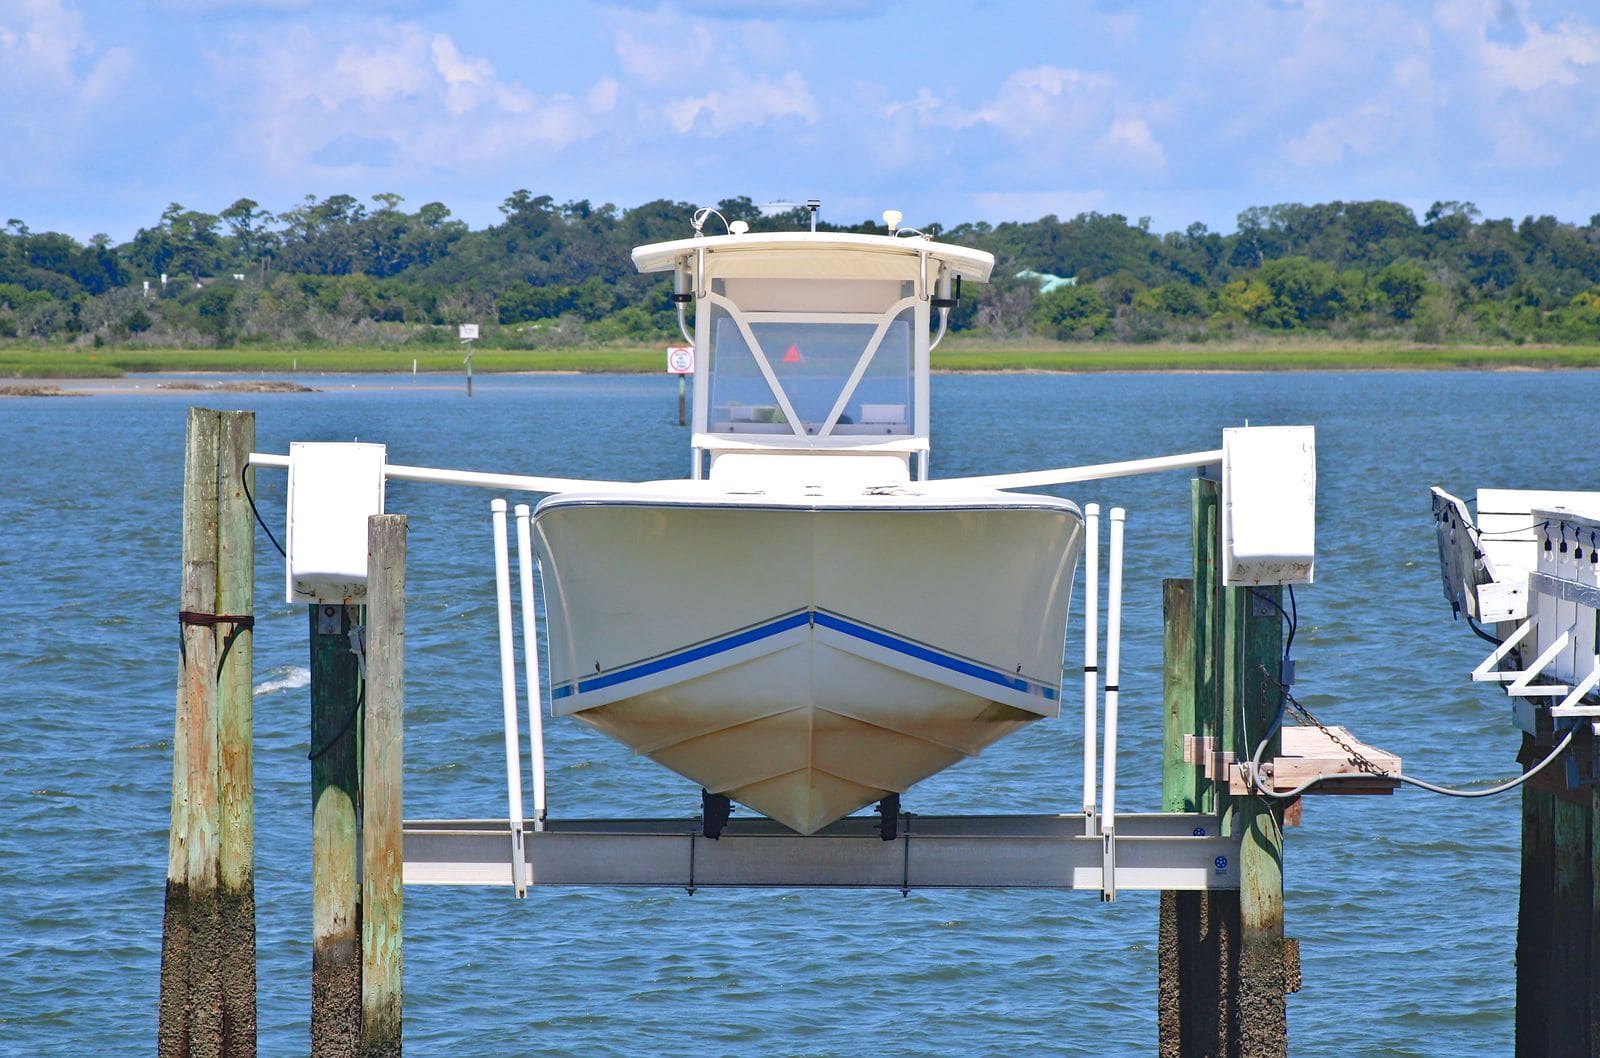
How to Inspect and Maintain a Boat Lift (Cables, Pulleys, Motor, Bunks and Storm Prep)
Inspect the cables, pulleys, motor, wiring and bunks on your boat lift, center the boat correctly, and prepare the lift and boat for storms and winter. Cable failures and overloading from rainwater or snow are the most common ways lifts drop boats.
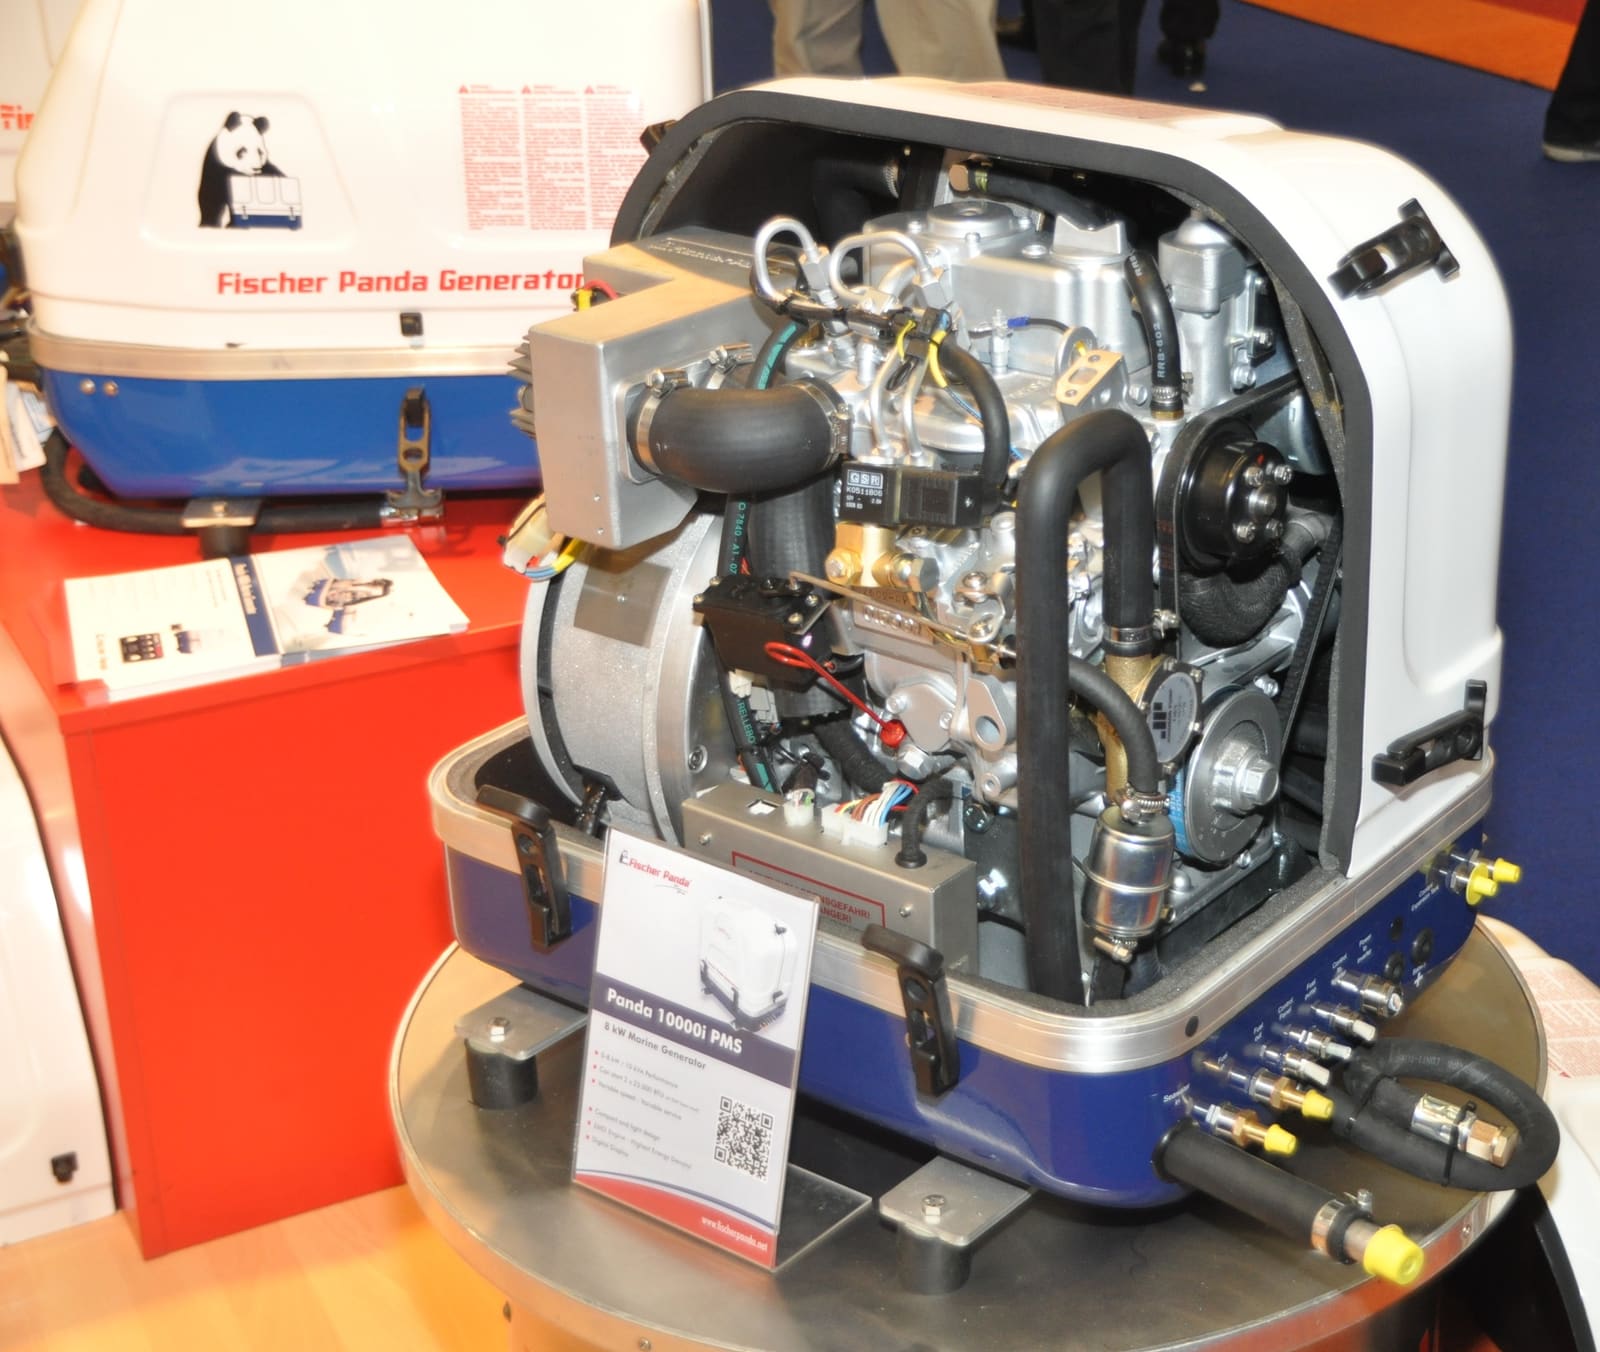
Marine Generator Routine Maintenance and CO Safety
Keep an Onan, Kohler/Rehlko, Northern Lights, Westerbeke or similar marine generator reliable with regular checks of oil, raw-water cooling, fuel, exhaust and the start battery, plus a monthly run under load. Generator exhaust is a leading source of carbon monoxide on boats, so safety checks come first.
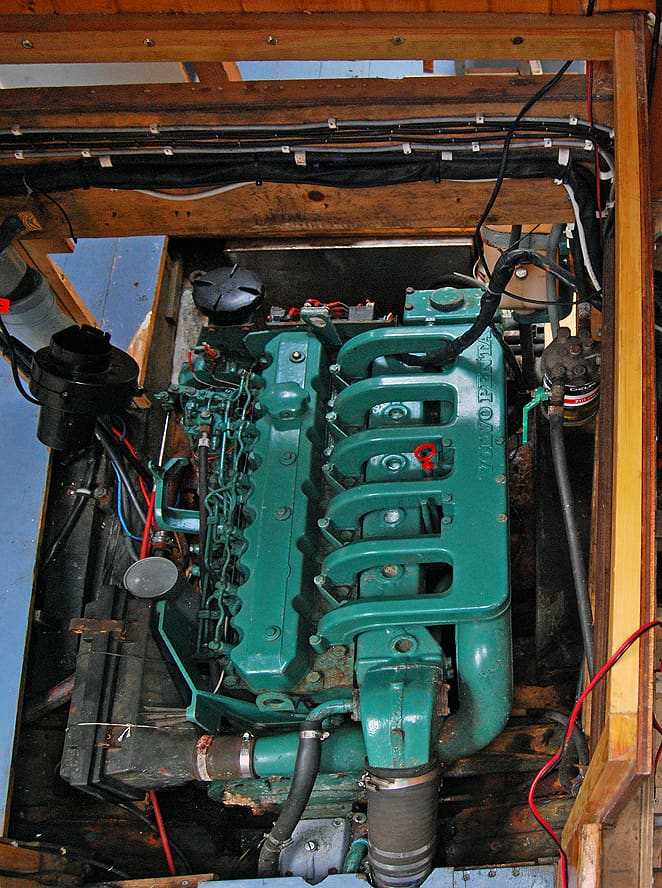
How to Inspect, Clean and Replace Vented Loops (Anti-Siphon Valves)
A vented loop is a small, easy-to-forget fitting that stops seawater from siphoning into your engine or through your head and into the boat. Learn where they live, why they must sit well above the waterline, how to clean a sticky or clogged valve, when to replace it, and how to spot the hydrolock damage a failed one can cause.