How to Install a Bow-Mount Trolling Motor
Mount a bow-mount trolling motor so it stows and deploys cleanly and stays put: pick the right shaft length and spot, check clearance in every position, through-bolt it with backing, consider a quick-release bracket, and wire it with the breaker, wire size, plug and voltage the motor maker specifies.
Time
4 h
Shop would charge
$200-600
Applies to
All engines · Fishing boat, Pontoon
Safety first: A trolling motor draws a lot of current. A missing or oversized breaker, undersized wire or a loose lug can overheat and start a fire. Keep the motor switched off (speed at zero) and the batteries disconnected while you mount and wire it, and connect the battery last. A prop that starts unexpectedly can cut hands badly: never touch the prop unless the motor is unplugged or the batteries are disconnected. If you smell hot insulation or see melted wiring, disconnect the batteries and don't use the motor until it's fixed. Before drilling the deck, check below for wiring, hoses, fuel lines and the hull itself.
Owners often ask
- What size circuit breaker and wire do I need for my bow-mount trolling motor?
- How do I know what shaft length to get for a bow-mount trolling motor?
This guide walks you through it. Still stuck? Ask the AI Mechanic about your engine.
Tools
- Tape measure and marker
- Masking tape
- Drill with sharp bits sized for the mounting bolts (plus a countersink bit for fiberglass, and a larger bit and epoxy for cored decks)
- Socket and wrench sets
- Caulking gun
- Flashlight and inspection mirror
- Wire stripper and heavy-duty crimper for large cable lugs
- Heat gun
- Digital multimeter
- Safety glasses
Parts & supplies
- Bow-mount trolling motor with the correct shaft length and voltage for your boat
- Stainless steel bolts, washers and locknuts (if not included), sized for the mount
- Backing plate or the maker's deck reinforcement kit for the underside of the deck
- Quick-release bracket (optional) that matches your motor
- Marine sealant
- Manual-reset circuit breaker sized per the motor maker's chart
- Tinned marine-grade cable in the gauge the maker's chart calls for, with sealed lugs and heat shrink
- Trolling motor plug and receptacle rated for the motor's current and voltage (optional)
- Deep-cycle batteries matched in type, size and age (one, two or three, by motor voltage)
Before you start
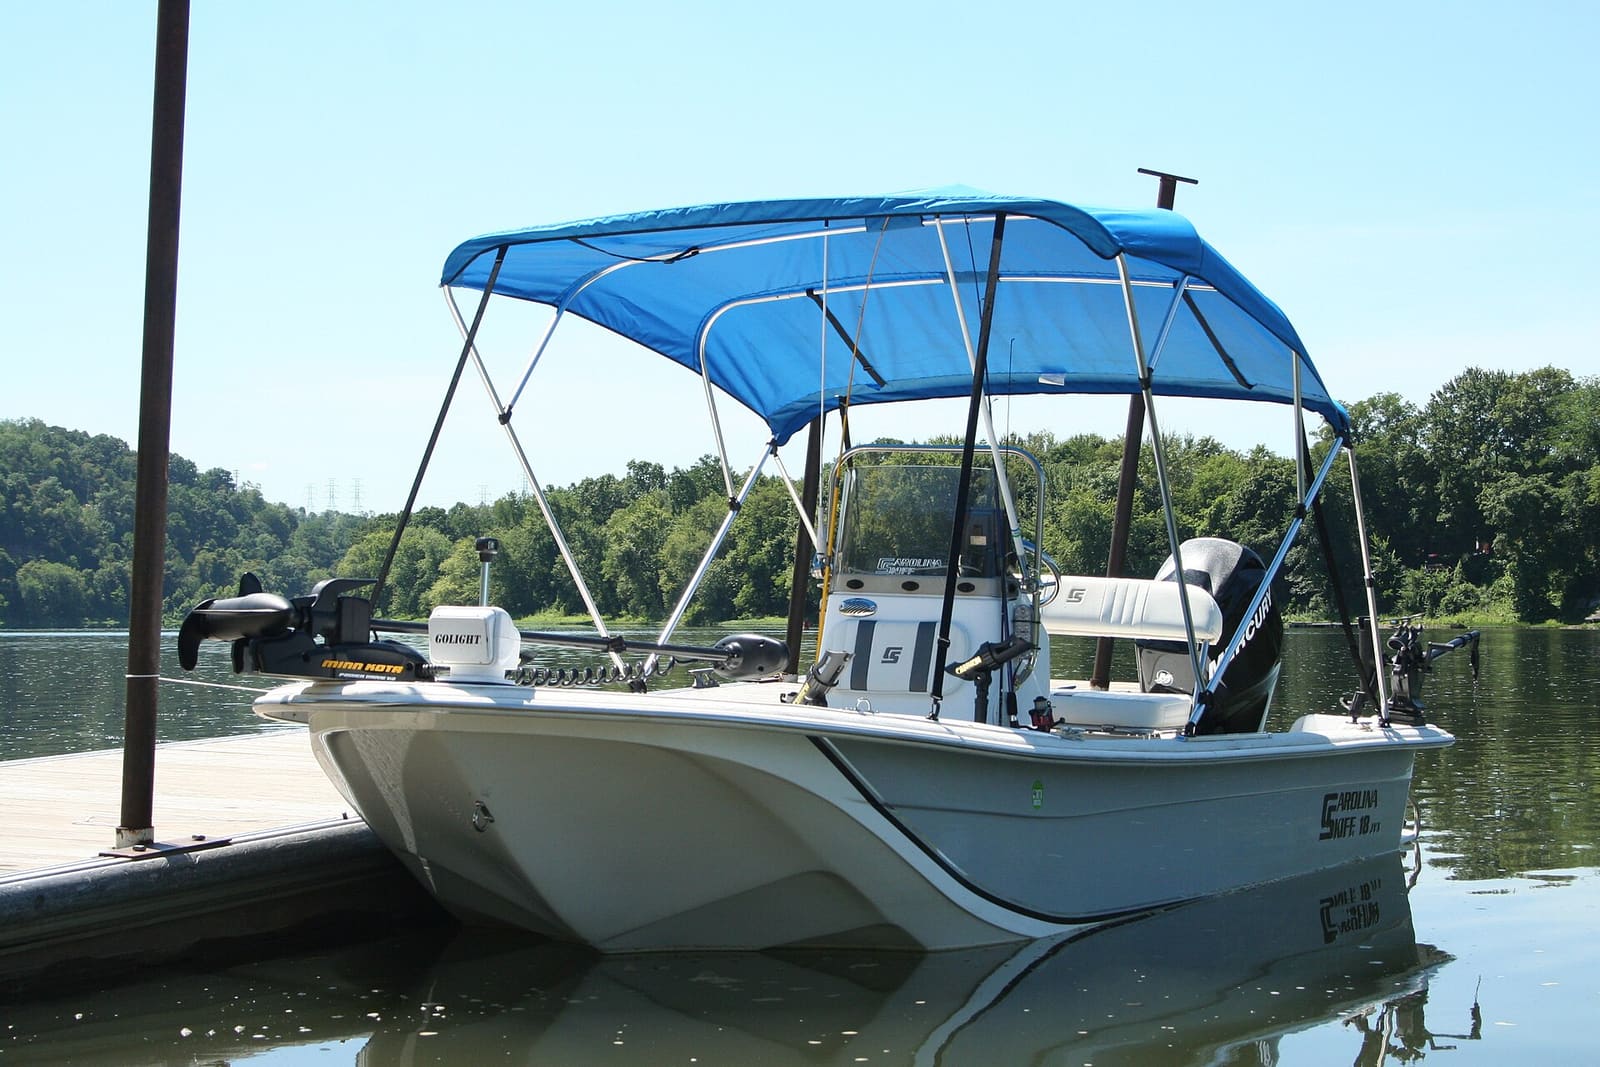
Why a bow mount? Minn Kota explains that it's easier to pull a boat than push it, and easier to move the bow sideways than the stern, so a bow-mount motor gives much better boat control than a transom motor. The trade-off is a more involved install: a flat, sturdy deck area, drilling, and wiring run to the bow.
Get the shaft length right before you buy. Too short and the prop comes out of the water in waves and makes noise. Minn Kota's rule of thumb is that the top of the motor's lower unit should be at least about 12 inches under water. Its method: measure from the mounting surface on the bow down to the water, then add about 9 inches for a hand-control bow mount, add another 12 inches if you'll steer a hand-control motor while standing, and add about 5 inches if you often fish rough water. Then use the maker's shaft-length table.
Voltage and thrust go together. Bigger motors run on higher voltage. Minn Kota's brushed motors, for example, use 24 volts above 55 lbs of thrust up to 80 lbs, and 36 volts above 80 lbs up to 112 lbs. A 24-volt motor needs two 12-volt batteries in series; 36 volts needs three. Minn Kota suggests at least about 2 lbs of thrust per 100 lbs of fully loaded boat weight as a starting point, more if you fish wind or current.
Salt or fresh. Minn Kota warns that using its freshwater motors in salt water can sharply shorten their life and voids the warranty. Use a saltwater model if you fish salt or brackish water.
Have the paperwork. The motor's installation instructions give the hole pattern, required clearance, bolt count and the wiring chart. Follow them over anything here.
Steps
Set the motor on the bow, stowed, with the help of a friend. Minn Kota's quick-release instructions recommend placing it as close to the boat's centerline (keel) as practical. The mount must sit on a flat, solid area. On pontoons, use the maker's pontoon mounting instructions or adapter, and bolt into the deck structure, not just the decking surface.
Deploy and stow the motor by hand (not bolted yet) and check:
- The shaft and motor clear the bow edge, rub rail, bow eye and anchor gear when deploying and stowing. Makers specify a minimum clearance between the bow and the motor column; check your instructions.
- The stowed motor head and lower unit don't hang where they'll hit a dock, trailer winch post or the anchor.
- The pedal or remote, cables and wiring have room to run without being pinched.
- You can reach the deploy handle without leaning out over the bow.
- The stowed motor doesn't block your bow navigation light. BoatUS's project writer notes that if it does, take the motor off before running after dark.
Angled bow or bow rail? Bow-mount motors are designed for a flat bow with no rail. In a BoatUS project, the writer made the mount level with a bent aluminum plate through-bolted with a backing plate, and got past a bow rail by cutting a short section out and covering the gap with a sliding stainless sleeve held by quick-release pins. A rail is a safety handhold, so if you're not comfortable modifying it (or the rail is part of the boat's structure), have a rigging shop do it or choose a different mount position.
Look under the deck at each planned bolt location. Make sure the bolts won't come through the hull or hit bulkheads, wiring, hoses or a fuel line, and that you can reach the underside for nuts and a backing plate. If you can't reach, pick another spot or use the maker's accessory for that boat type.
A quick-release bracket lets you lift the motor off the boat for storage, security or trailering. Minn Kota lists brackets matched to different motor models. Some motors must use specific holes: for certain Minn Kota motors on a quick-release, only the four rear base holes are used so the shaft has proper clearance when deployed. A quick-release adds height, so recheck shaft length and clearance with it in place.
Use the base (or quick-release) as a template and mark the holes. Tape helps on gelcoat. Drill straight down. On fiberglass, makers commonly suggest countersinking the top of each hole slightly so the gelcoat doesn't crack. If the deck has a wood or foam core, protect it: drill oversize, fill with thickened epoxy, let it cure, then drill the bolt holes (see the through-bolting accessories guide).
Use through-bolts, not screws, and all the bolt holes the instructions call for, spread as far apart as practical. Minn Kota offers a deck reinforcement kit; otherwise use an aluminum or marine-grade plastic backing plate under the deck to spread the load. Seal each hole, fit washers and locknuts underneath and tighten evenly. If the deck isn't flat, shim the base as the instructions describe: a mount bolted down crooked can bind and be hard to deploy or stow.
Decide where the trolling batteries go (often in a compartment near the bow, but follow your boat's layout and weight balance). The longer the run from batteries to motor, the heavier the wire needs to be. Minn Kota says its motors come with 5-foot 10-gauge leads and gives a chart for the wire gauge to use when extending them, based on the motor and the extension length. It recommends a qualified marine technician for extensions over 25 feet. See the trolling motor wiring guide for battery banks and charging.
Minn Kota recommends a circuit breaker or inline fuse on the positive lead, as close as possible to the battery or batteries. Size it from the motor maker's chart, not by guesswork. Minn Kota's MKR-27, for example, is a 60-amp manual-reset breaker, and Minn Kota says breakers larger than 60 amps should not be used on its QUEST motors. Smaller motors may call for a smaller breaker. Connect the motor's positive cable to the breaker's motor/auxiliary side and the battery side to the positive post, as the breaker's instructions show.
A plug and receptacle lets you disconnect the motor at the bow. Pick one rated for your motor's current and voltage; Minn Kota's MKR-28, for example, is rated to 60 amps up to 48 volts. Mount the receptacle where it stays dry, use the dust cap, and make every crimp solid with heat shrink. A cheap or worn plug is a common cause of heat and power loss.
Make all connections with the motor off. For 24 or 36 volts, connect the batteries in series exactly as the maker's diagram shows. Minn Kota says batteries in a bank should be the same make, type, size and age. Keep the trolling bank separate from the cranking battery unless the motor maker's instructions show otherwise. Check voltage and polarity at the plug with a multimeter before you connect the motor.
With the motor deployed in water deep enough to cover it, run it briefly at low speed. Check steering both ways, that the stow and deploy latch works, and that cables don't snag. Don't run the motor out of water unless the maker allows a brief check. On the water, run it at full speed for a while, then feel the cables, plug and breaker: they may be warm but should never be hot. Recheck mounting bolts after the first few trips.

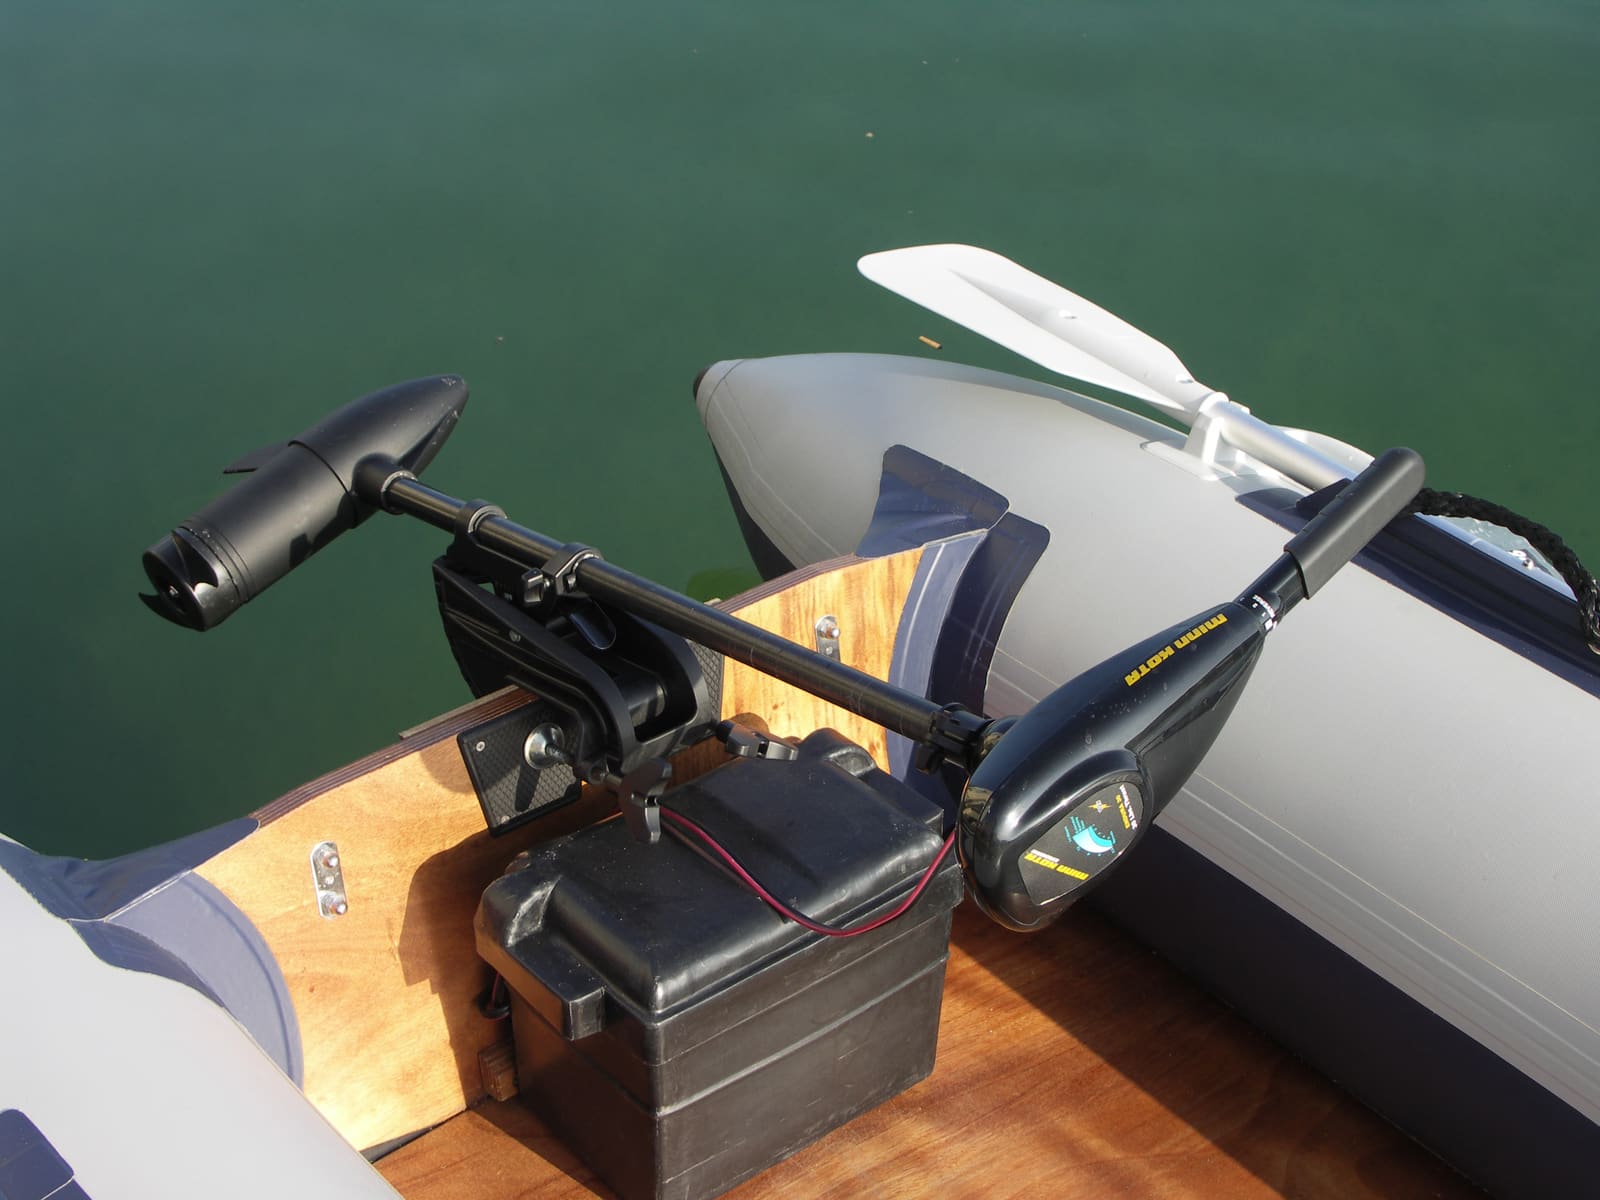
A bow-mount motor deployed off the front of an aluminum fishing boat. When trolling, the lower unit should sit well under the surface. Photo: Dennis Brown / Wikimedia Commons · CC BY 3.0 If your motor has GPS anchoring or heading lock, it needs setup on your boat before those features work properly. MotorGuide's Xi Series FAQ, for example, calls for a compass calibration (driving slow circles) and a "keel" calibration that tells the motor which way is straight ahead, and says to redo them whenever the motor moves to a different boat. It also warns that routing cables the wrong way past the motor head can cause interference with the GPS. Follow your motor's manual for the exact procedure and cable routing, and do it in open water clear of obstructions.
Common mistakes
- Buying a shaft that's too short, so the prop ventilates and bangs in waves.
- Mounting too close to the bow edge, so the motor hits the bow or bow eye when deploying.
- Wood screws or just a few bolts instead of through-bolts with backing.
- Skipping the breaker, or using one bigger than the maker allows "so it won't trip."
- Extending leads with wire that's too small, causing heat and weak performance.
- Mixing old and new or different-type batteries in a series bank.
- A corroded, undersized plug that melts or cuts power.
- Using a freshwater motor in salt water without rinsing, or at all when the maker says not to.
When to call a pro
- The deck is cored, soft, cracked or you can't reach the underside for backing
- The wire run is long, passes through other compartments, or would exceed the maker's extension guidance
- You're adding a battery bank, onboard charger or changing to lithium batteries (see the lithium battery guide)
- Your motor has network or sonar connections to tie into your electronics
- You see melted insulation, a breaker that trips repeatedly, or anything gets hot: disconnect the batteries and have it checked
- Pontoon installs where the deck structure under the mount isn't clear
Tips
- Write the breaker size, wire gauge and battery dates in BoatMend so you can match them later.
- Coat battery terminals with a corrosion inhibitor after tightening, and check them each month in season.
- Rinse the motor and mount with fresh water after salt water use; Minn Kota also advises not leaving a motor submerged in salt water when the boat is moored.
- Stow the motor with the strap or lock the maker provides before trailering, and remove it if you have a quick-release and a long tow.
Official references
We read these to write this guide. Your engine's own manual always wins.
- Minn Kota Help – Trolling Motor Selection Guide (shaft length, thrust, voltage)
- Minn Kota Help – Bow-Mount Trolling Motor Options
- Minn Kota Help – Quick Release Bracket Dimensions and Instructions
- Minn Kota Help – Trolling Motor Amp Draw, Circuit Breakers, Fuses, and Extending the Battery Leads
- Minn Kota Help – Circuit Breaker MKR-27 Installation
- Minn Kota Help – Trolling Motor Plug and Quick Connect Options
- Minn Kota Help – Connecting Deep Cycle Batteries in Series or Parallel
- MotorGuide – Xi Series FAQs (calibration, wire routing, quick release)
- BoatUS – Mounting A Trolling Motor (angled bow and bow rail)
Safety: BoatMend is for information only and does not replace a certified marine technician. You are responsible for your safety and your boat. Read the full disclaimer.
Last updated 2026-10-25
Related guides
How to Wire a 12, 24 or 36-Volt Trolling Motor and Charge Its Batteries
Set up the battery bank for your electric trolling motor the right way: matched deep-cycle batteries in series or parallel, a circuit breaker sized from the motor maker's chart, a proper plug, and a multi-bank charger that keeps every battery healthy. High-current wiring that runs long distances or ties into other systems is a job for a marine electrician.

Trolling Motor Won't Run, Runs Weak or Cuts Out: How to Troubleshoot It
Work through a dead, weak or on-and-off trolling motor from the cheapest checks to the hardest: battery charge and load test, connections, the breaker, line wrapped behind the prop, stow and deploy problems and GPS anchor glitches. Most problems turn out to be power supply; motor head and steering electronics are a service-center job.
How to Mount Rod Holders, Fish Finders, Cleats and Antennas Without Causing Leaks
Add accessories to your boat the right way, with through-bolts, backing plates, sealed core and proper wire pass-throughs, so every new hole stays dry and strong. Also learn where you should never drill.
Marine Battery Care: Test, Charge and Store for Winter
Check your boat battery's health, charge it the right way for its type (flooded, AGM or lithium), and store it so it is ready in spring. Most "boat won't start" calls start with a neglected battery.
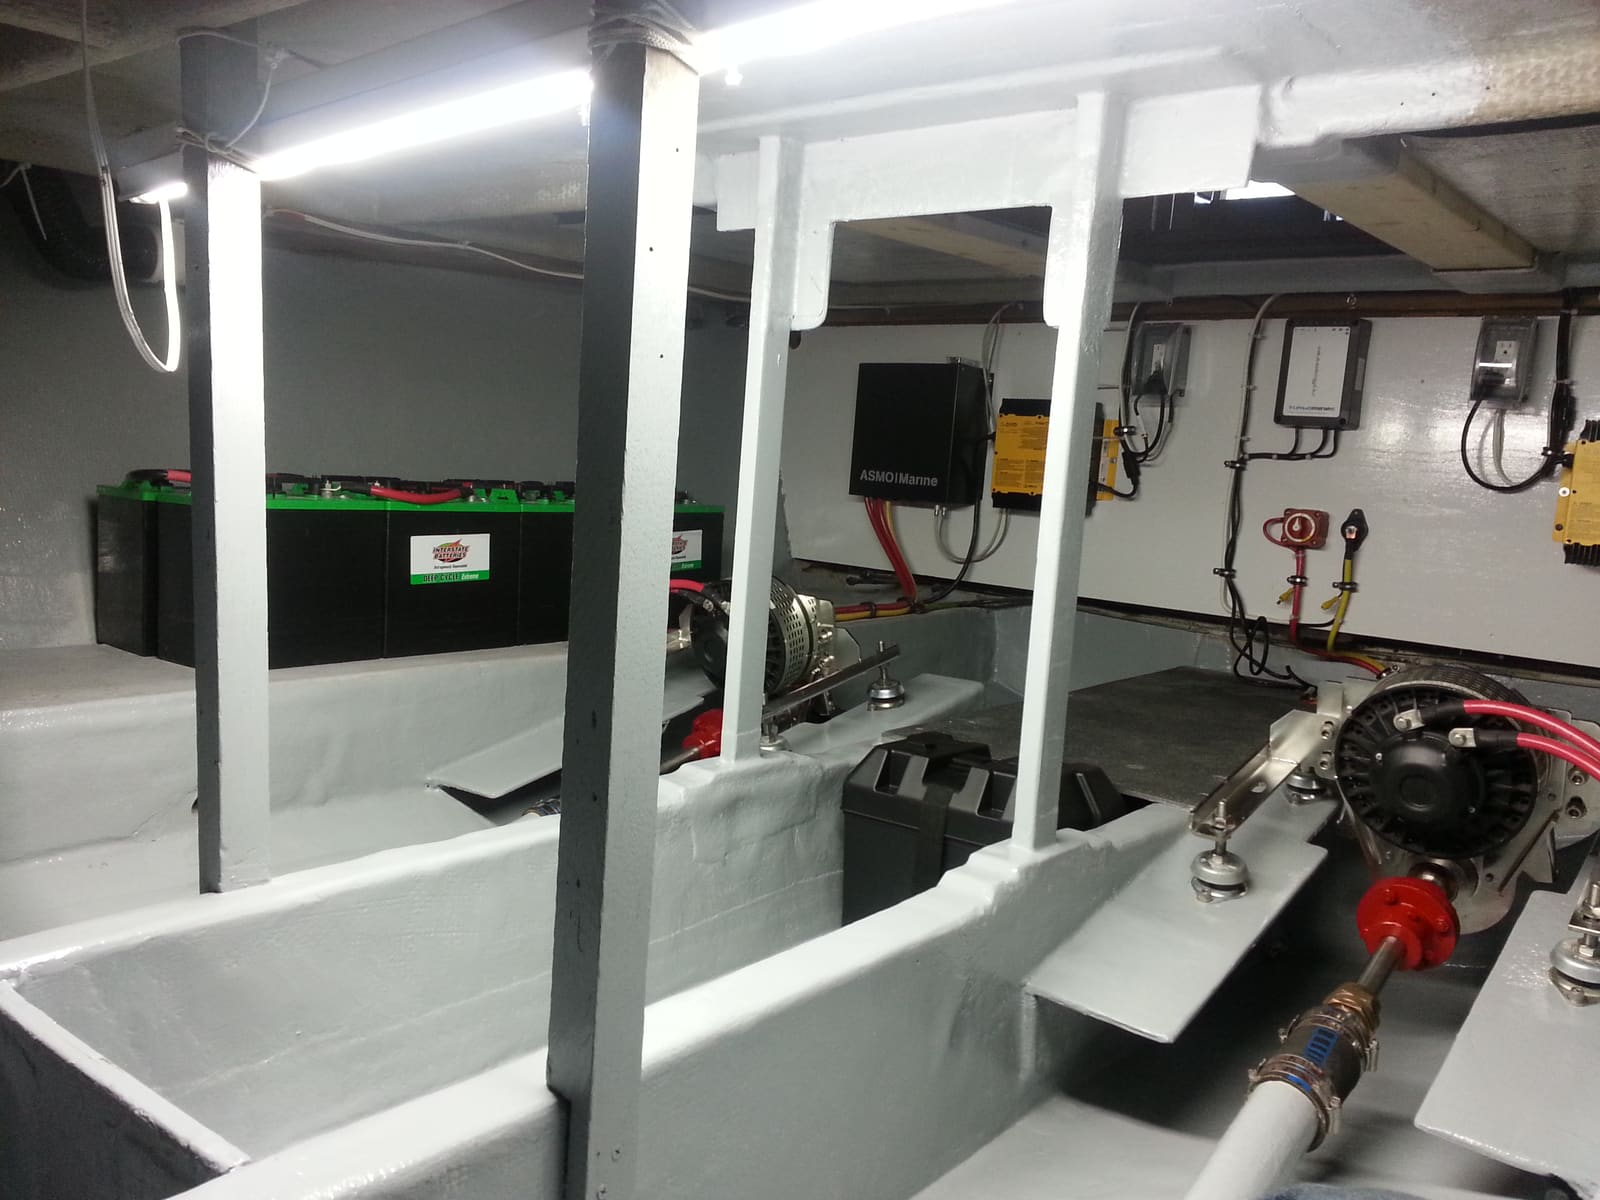
How to Choose, Install and Maintain an Onboard Battery Charger
Pick the right marine charger for your batteries (how many banks, how many amps, flooded, AGM or lithium), mount and fuse it safely, set the charge profile, and use it to keep batteries healthy all season and through the winter. The AC (shore power) side is a job for a marine electrician.
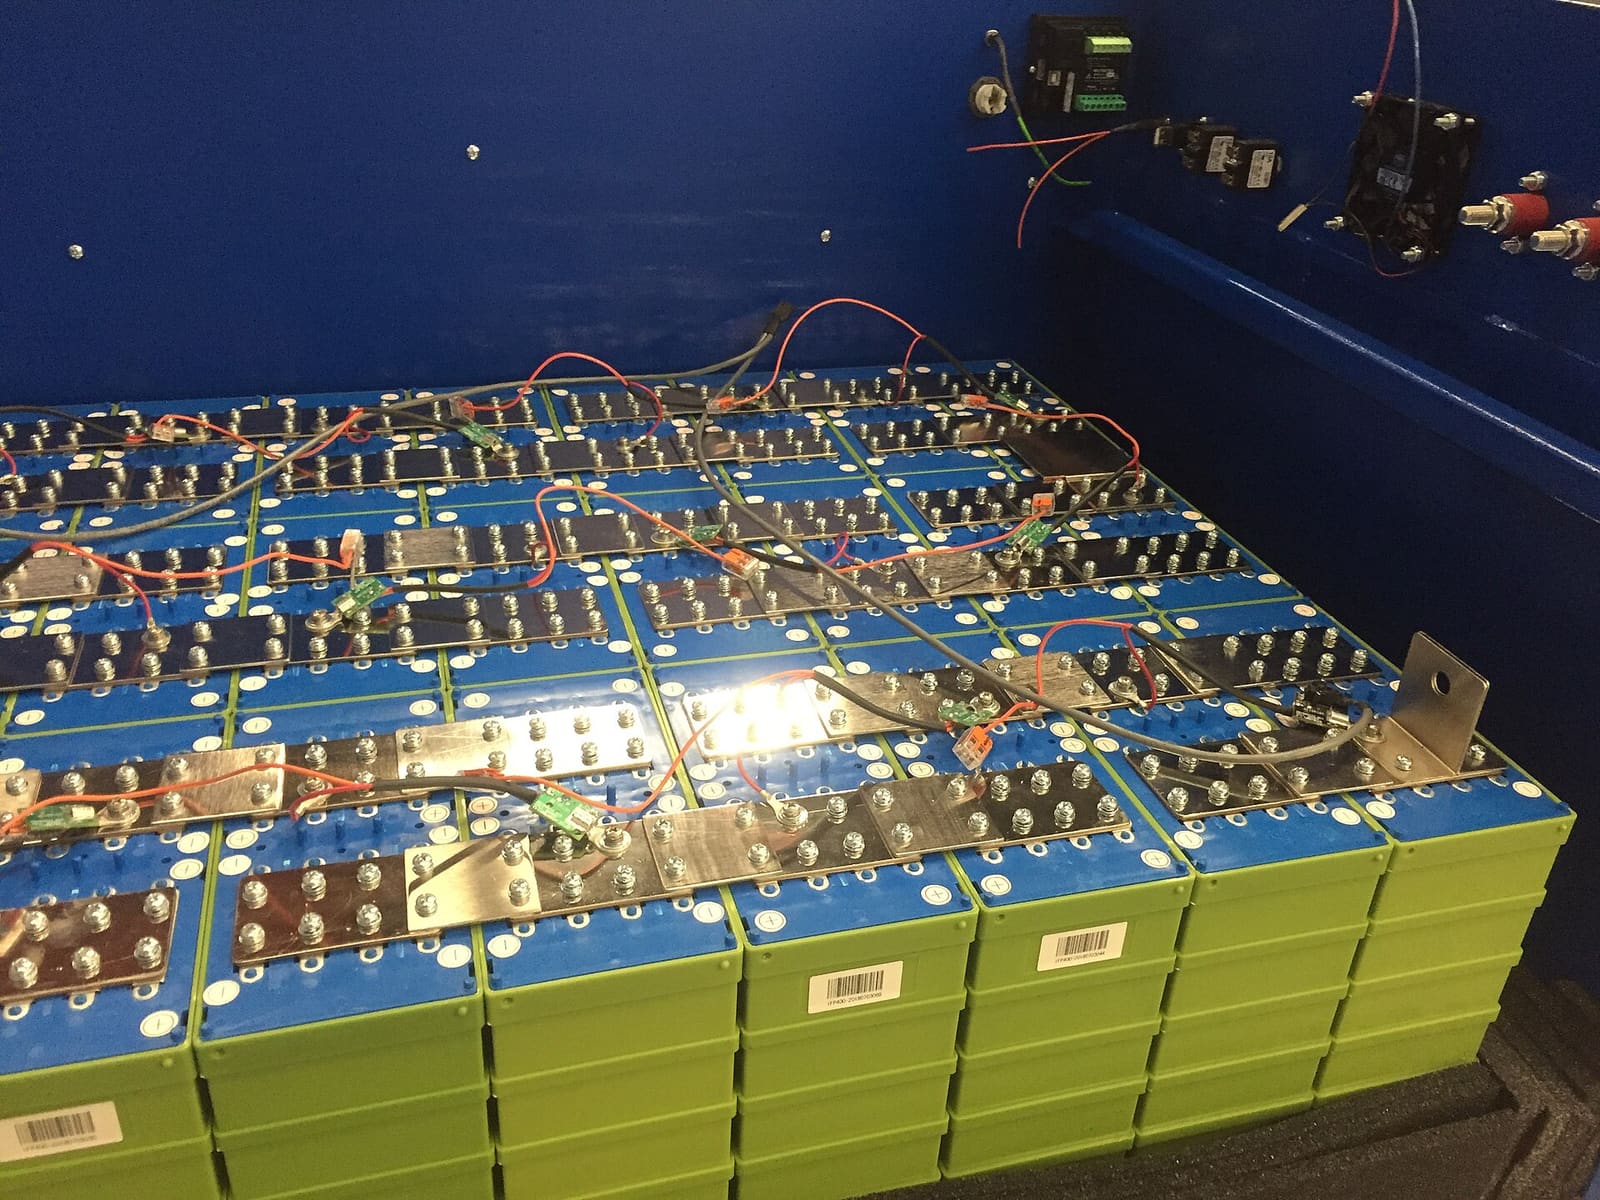
Switching to Lithium (LiFePO4) Boat Batteries: What Changes and When It's Worth It
What really changes when you swap lead-acid for lithium iron phosphate (LiFePO4) batteries on a boat: the battery management system, charger settings, protecting the alternator with a DC-DC charger, not mixing chemistries, cold-weather charging, and which jobs (trolling, house, starting) suit lithium. House-bank conversions should be designed and installed by a qualified marine electrician.
12-Volt Boat Wiring Basics: Circuits, Color Codes, Fuses and Wire Size
Learn how your boat's 12-volt system is laid out, what the ABYC wire colors mean, how fuses and breakers protect the wiring, why voltage drop and tinned wire matter, and how to read a wiring diagram, so you can troubleshoot smarter and know which jobs belong to a marine electrician.

Fuse Keeps Blowing? How to Troubleshoot a Boat Fuse Block or Breaker Panel
Work through a blown fuse or tripping breaker the safe way: confirm it, tell a short from an overload, isolate the device or wire at fault, replace a worn breaker or panel switch with the same rating, and label every circuit, without ever fitting a bigger fuse.
Shallow-Water Anchor Care: Power-Pole, Minn Kota Talon and Raptor Maintenance and Troubleshooting
Keep a shallow-water anchor deploying and holding: rinse it the way its maker recommends, inspect the spike and pivot bolts, check hydraulic fluid on pump models, keep the fuse, wiring and pump dry, update the software, know how to stow it by hand and get it ready for winter. Internal pump, circuit board and cylinder repairs go to an authorized service center.